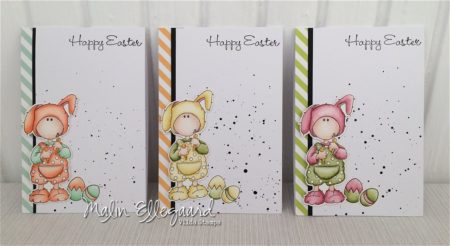
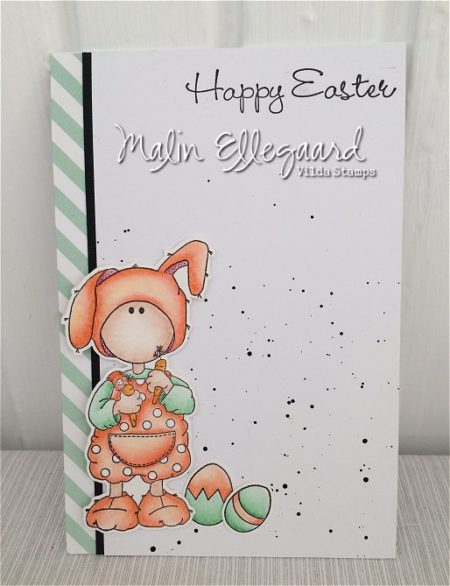
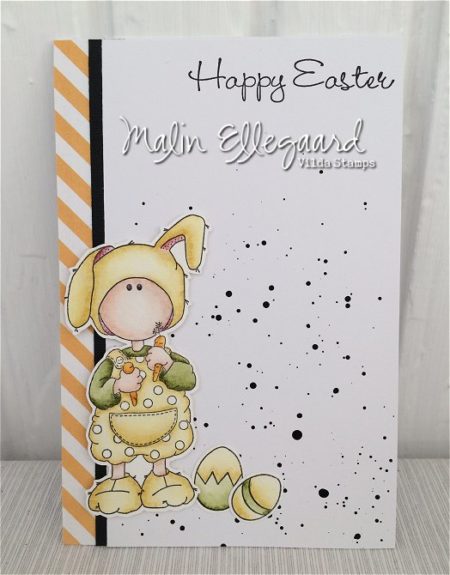
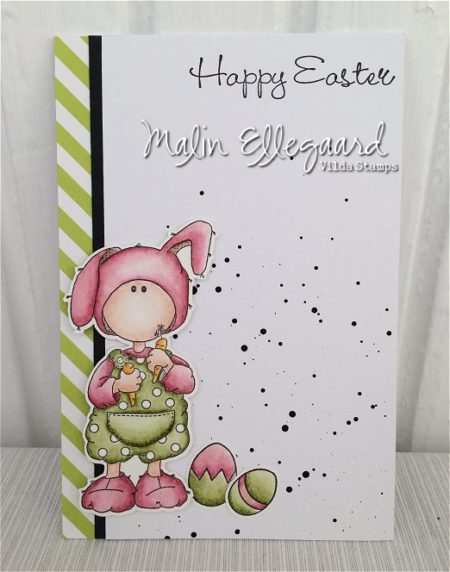
3 simple eastercards.

Inlägget postat av on March 23, 2018 | | 310 kommentarer »


Hi there and welcome to my second post for today.
This time I have 3 simple eastercards for you, very easy to do.
In the end you have a video on how I made this if you would like to try them out.
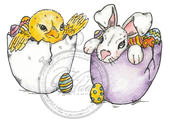
I have been using the cute easterstamp v835.

And here is the youtube video:

Enjoy!
Hugs Malin


This post is posted by Malin


Easter box

Inlägget postat av on March 23, 2018 | | 589 kommentarer »


Hi there!
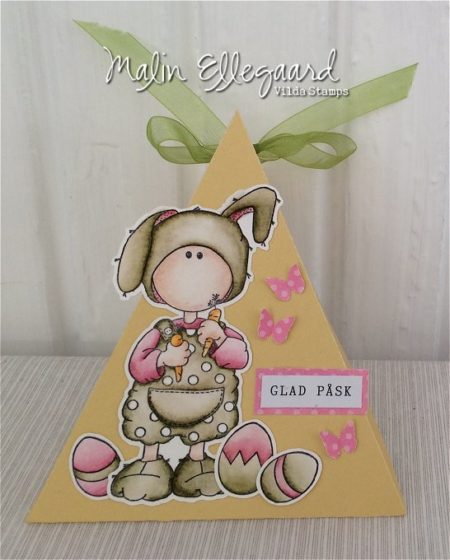
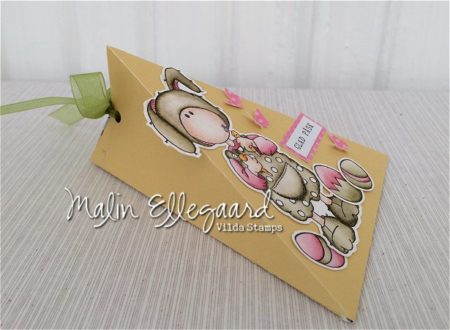
Today there will be a little easter treatbox again but this time  I made my own box instead of alter a finish one.
In the end of this post there will be a video of how I did this box if you would like to do one yourself.
Really simple box today and a CAS project.
If you are going to do many and give away this is a cute and simple way of doing a lot of boxes that won´t take to much time to do!
If you use a patterned paper you wont even have to dekorate the box if you don´t want to, then it will be just a cute giftbox.
Using the cute easterstamp from Vildas of course.

And here are the youtube video for the box:

Have fun!
Malin


This post is posted by Malin


A lollipop flower

Inlägget postat av on March 21, 2018 | | 802 kommentarer »


Hello everyone!

Welcome back for my second creation I want to share with you today.

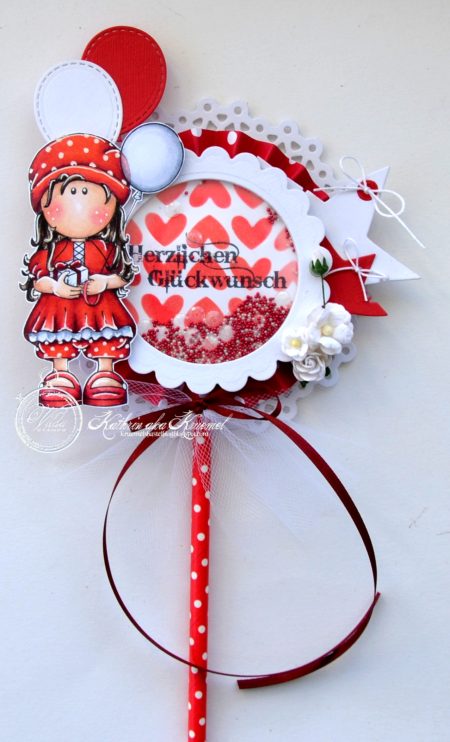
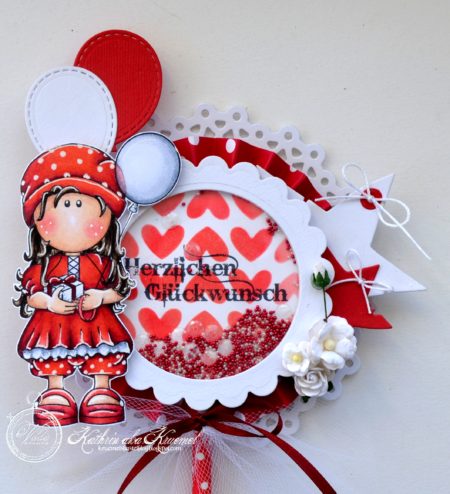
From time to time I love to make a card that is a little different than just a square or rectangle one. So instead of a regular birthday card I made a lollipop flower for a friend instead.

Isn’t it nice to put one of these into a bouquet of flowers?

For the lollipop flower I started with a die cut doily and put a paper rosette cut from red designer’s paper with white dots on top of it. Then I also wanted to include a shaker element.

I created the background inside the shaker using red ink and a stencil and then stamped a birthday saying from the German Lyrics stamp set in the middle. The shaker is filled with tiny pearls and some sequins.

On the right side of the lollipop I added two die cut stars and a few flowers. To the paper straw I tied a bow using ribbon and added some tulle here.

Of course I also wanted to include an image – and what could be better for a birthday card than this cute girl from the Best Friends stamp set. She was colored in with Copics using reds and whites/greys and glued on top of the shaker after cutting her out.

Behind the girl I’ve added two die cut balloons.

Have a happy day everyone!

Hugs, Kathrin


This post is posted by Kathrin


More flowers

Inlägget postat av on March 21, 2018 | | 605 kommentarer »


Hello everyone!

In my last post I was dreaming of spring being here. Well, it still hasn’t made it here so I made another flower-ish card. I just can’t wait for all those flowers to bloom in the garden again!

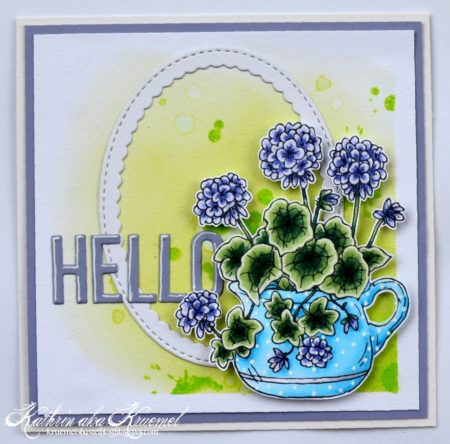
This is a square card of 13 x 13 cm. I used some light yellow ink to ink up the background and then used the Splats Stamp Kit to add a few light green splots. This adds more interest to the card and also brings in another spring-ish color.

Then I’ve put a die cut oval in the middle of my card and added a die cut greeting. The same lavender color I used for the saying was also used to mat the card.

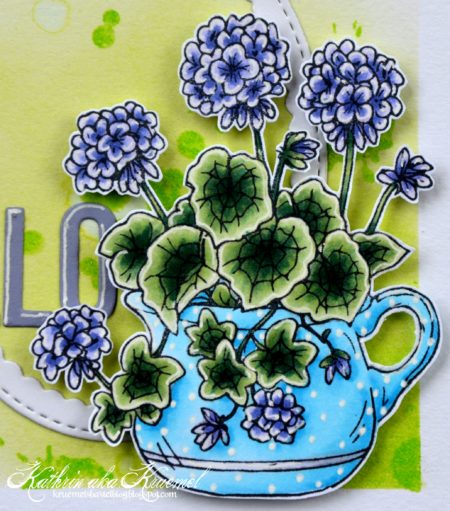
And here are said flowers. They are from the Flowers Geraniums and Roses stamp set. Honestly, mostly I think of red or pink or even white when thinking of Geraniums. But I wanted to make a blue flower pot with white dots – and you know me, I seldomly do cards with lots of different colors. So I’ve decided to stick to the blue-ish family for the flowers as well. Together with the greens in the background and from the leaves I think it is a nice color combo.

I used Copics to color the Geraniums and added some details in the petals as well as the white dots on the flower pot with a white gelly marker. I have no idea if Geraniums like this exist in real life – but that’s the good thing about our creative hobby: we can do whatever we can think of.

See you all later today!

Hugs, Kathrin


This post is posted by Kathrin


Happy Easter Box Card

Inlägget postat av on March 19, 2018 | | 450 kommentarer »


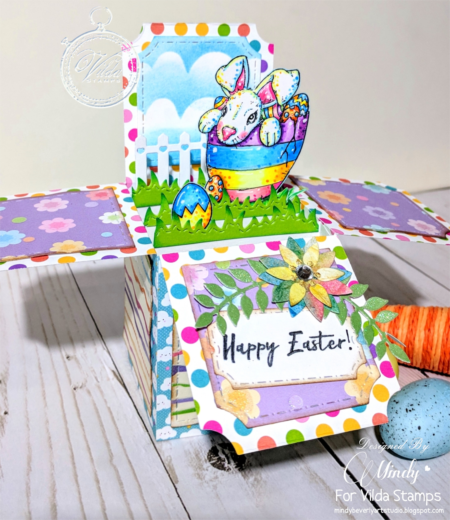
Hello Everyone! Mindy here with you again today to share a Happy Easter Box Card that I created using the Super Adorable Easter Bunny from the Egg Halves stamp V373 from Vilda Stamps.

Products used:

Egg Halves V373

Coloring Details:

Copic Markers:

Bunny: B05, B00, Y00, RV04, RV21, RV10, RV000

Eggs: C5, C3, C1, 0, B05, B12, B00, V09, V15, V12, RV04, RV21, RV10, RV000, Y17, Y06, Y00

Distress Oxide Ink

Background: Salty Ocean, Vintage Photo

To create my box card first I stamped the Easter Bunny onto 110 lb. plain white card stock. I then used Copic Markers in the colors above to color the super cute bunny in. I then fussy cut the image out and inked the edges with Vintage Photo.

Next I die cut the box card and coordinating panels from pattern and plain cardstock. I then used Distress Oxide Ink in Salty Ocean to blend the cloud background onto the white background panel. To give the look of clouds I used a scalloped die cut and used it as a mask. I just blended right over the scallop cut on just the edge and then removed the die cut. The result gives the impression of a cloudy sky.

To assemble my box card I used score tape for added stability. I then glued on the top pattern panels, sentiment, grass border die cuts, fence die cut, and die cut flowers. To finish I added a rhinestone to the inside of the flower, and then added the bunny and egg colored images to the back of the grass border die cuts to look like they are sitting in the scene.

Thank you so very much for stopping by! I hope that my project has inspired you to try out your own creations using these Gorgeous Vilda stamps! You can find the entire line of Vilda Stamps as well as other fabulous stamps, dies and coloring mediums available now in the Engstroms Artstudio AB Shop!

Hugs- Mindy


This post is posted by Mindy


Bunny Treat Bag

Inlägget postat av on March 19, 2018 | | 320 kommentarer »


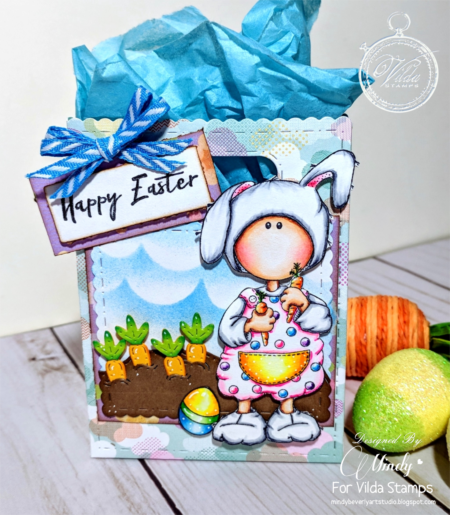
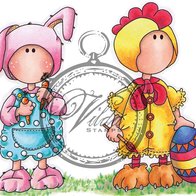
Hello Everyone! Mindy here with you today to share with you a Bunny Treat Bag that I created using the Super Adorable Easter Bunny and Young Hen V835 stamp from Vilda Stamps.
Products used:

Easter Bunny and Young Hen V835
Coloring Details:

Copic Markers:

Skin: E04, E11, E21, E00, E000, E0000, RV21, RV000

Outfit: C5, C3, C1, 0, B05, B12, B00, V09, V15, V12, RV04, RV21, RV10, RV000, Y17, Y06, Y00

Egg: Y17, Y06, Y00, YG09, YG06, YG11, B05, B12, B00

Distress Oxide Ink

Background: Salty Ocean, Vintage Photo

To create my treat bag first I stamped the Easter Bunny onto 110 lb. plain white card stock. I then used Copic Markers in the colors above to color the super cute bunny in. I then fussy cut the image out and inked the edges with Vintage Photo.

Next I die cut the treat bag and coordinating panels from pattern and plain cardstock. I then used Distress Oxide Ink in Salty Ocean to blend the cloud background onto the white top panel. To give the look of clouds I used a scalloped die cut and used it as a mask. I just blended right over the scallop cut on just the edge and then removed the die cut. The result gives the impression of a cloudy sky.

To assemble my treat bag I used score tape for the main bag. I then glued on the top panels, sentiment, and decorative bow. To finish I added some coordinating garden and carrot die cuts, and then added the bunny with foam tape for some added dimension.

Thank you so very much for stopping by! I hope that my project has inspired you to try out your own creations using these Gorgeous Vilda stamps! You can find the entire line of Vilda Stamps as well as other fabulous stamps, dies and coloring mediums available now in the Engstroms Artstudio AB Shop!

Hugs- Mindy


This post is posted by Mindy


Glad Påsk with Wilda Stamps

Inlägget postat av on March 17, 2018 | | 433 kommentarer »

Hello!!

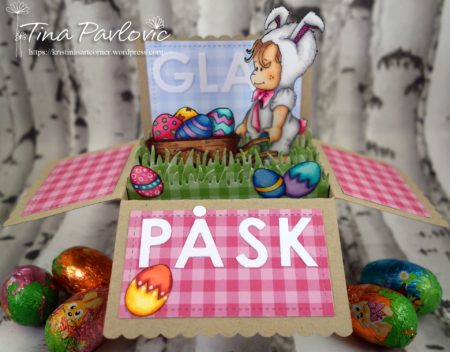
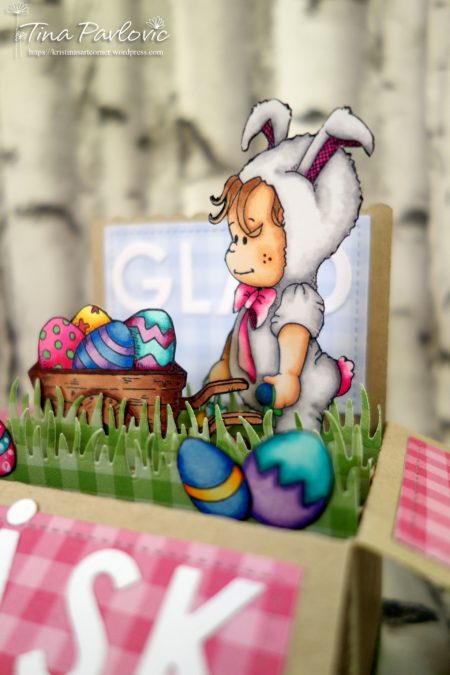
This is me Kristina again with second post for today! As I said in the previous post today, I want to present you two Easter Projects with Vilda Stamps.

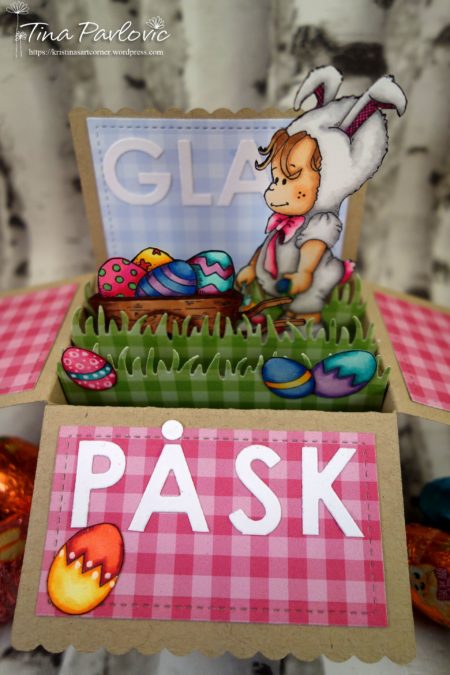
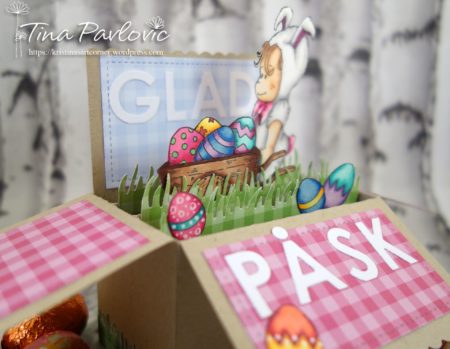
For this project I decided to make something completely different. I made Pop-Up Box card using Rabbitbunny,Eggwheeler stamps set from Vilda stamps(Kaninunge, äggkärra).

For the base of this project I used Kraft paper and LW Scalloped Box card Pop-Up dies. I stamped images with MFT Extreme Black hibryd ink and colored with my Copic markers.

I chose Farm Fresh Gingham paper pack to decorate flaps and I die cut Grassy Edges from the same paper pack. Both Products are from MFT.

I also used MFT Pop-Up Alphabet Die-namics to cut out letters for sentiment.

I hope you like my project and you will be inspired to do something similar.

Thank you for stopping by! See you soon! Kristina


This post is posted by Kristina


Easter Card With Vilda Stamps

Inlägget postat av on March 17, 2018 | | 312 kommentarer »


Hello everyone!!

This is me, Kristina, from Kristina’s Art Corner!!

As usual I will publish two projects today so be sure to come back later on to see the other card. For today I have prepared Easter projects. Easter is behind the corner and it is not bad to have finished cards for friends and family. So let’s get to work!!

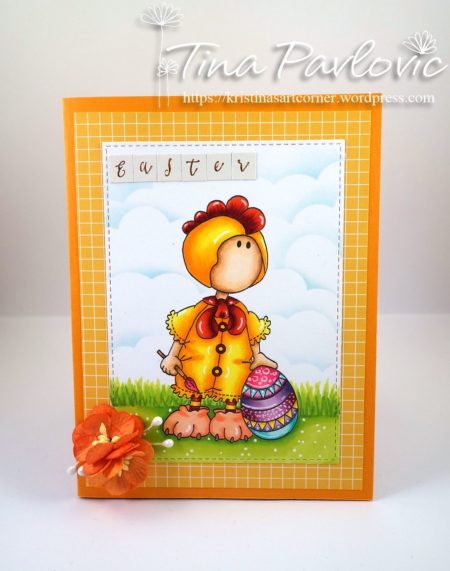
For my first card I used Easterbunny and Young hen stamps set (Påskhare och Ungtupp)

I stamped my image with copic friendly black ink and colored with my copic markers. I also colored grass and added cloudy sky with MFT Mini Cloud Edges Stencil and Tumbled Glass distress ink. Uni Ball White gel pen for some details on the outfit and for some flowers on the grass. After that I used A2 Stitched Rectangle Stax Set 1 for MFT to cut out front panel.

I also used MFT Graphic Grid Paper Pack from MFT for the second panel. The card base is made from orange card stock and I added some flowers for finishing touch. And yes, on the end I decided to use My Mind ‘s Eye Pearl stickers for sentiment.

I hope you like it and that you will be inspired.

Thank you for stopping by! See you soon! Kristina


This post is posted by Kristina


Related Posts Plugin for WordPress, Blogger...