Greetings from the sea

Inlägget postat av on August 21, 2017 | | 8 kommentarer »


Hello and welcome back today!

So, I see you are curious to see my “similar and yet completly different” card. This time I wanted to make something happy and what can be more fun than sending greetings from your summer vacation. So, this is what my card looks like:
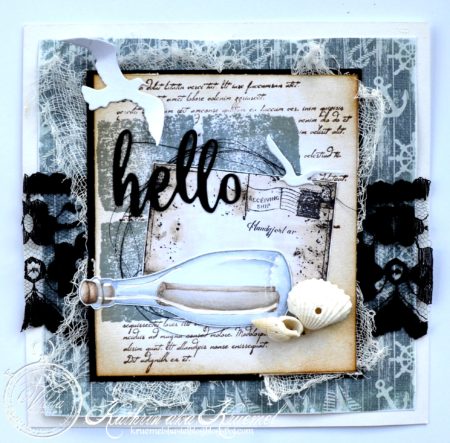
Maybe you can already spot the differences and similarities.

Here I’ve used a designer’s paper in the background again – this time chosing one with a maritim print. Then again I’ve added the black lace and some cheesecloth.
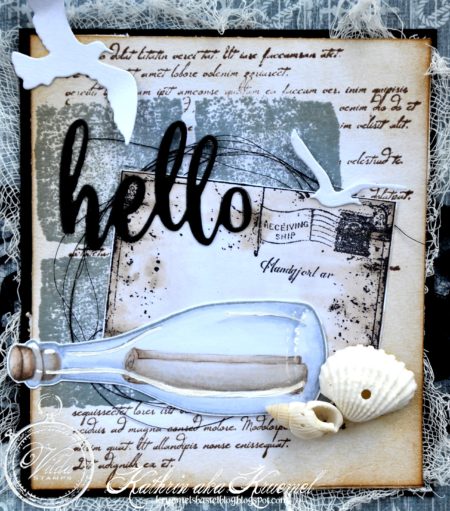
For the decorated part I created the same background like on my sympathy card, using the Squares, Circle and Star and the Letter Context Stamp. The squares are stamped using a grey-ish blue in, the edges are inked up with some brown ink.

Then I’ve stamped, colored and cut out the Postcard stamp and glued it onto my card, turning it a little. And in the front I used the biggest of the Glass Bottles.

I also found some sea shells to add to my card and again used a die cut word, a hello this time, cut from black cardstock, some fine black yarn and sea gulls.
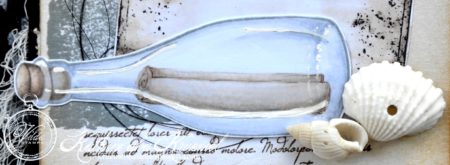
And here I have a close up of the bottle. It’s stamped with grey ink and then colored in with Copics. I’ve hand drewn the paper roll inside to turn it into a message in a bottle…

I had fun making those two cards and hope you like them!

Hugs, Kathrin


This post is posted by Kathrin


A Sympathy Card

Inlägget postat av on August 21, 2017 | | 308 kommentarer »


Hello everyone!

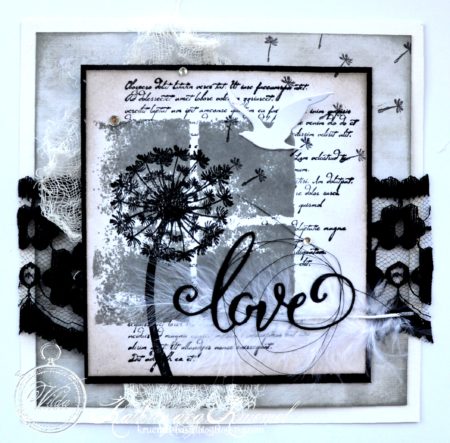
It’s Kathrin here today hoping to inspire you with two new cards. And this month I tried to make two similar cards that are still completly different. Sounds confusing? You’ll see what I’m talking about once you’ve seen both of the cards. But let’s start with this one – a sympathy card. Sadly also that type of cards is needed every now and then.

I used a slightly patterned paper in the background, adding some black lace and cheesecloth to it. The edges of the paper are inked with a very dark grey ink.

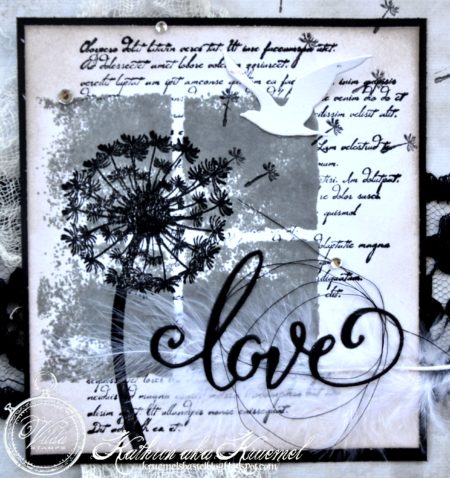
Here I’ve stamped the squares from the Squares, Circle and Star stamp set using dark grey ink and purposefully not stamping it completly or it would have been too hard on this card. Then I’ve covered the single squares with masking tape and stamped the Letter Context Stamp over it to make it look like it’s in the background.

The big dandelion from the Silhouette Nature stamp set is just perfect for sympathy cards. I’ve stamped it onto the squares with black ink and added a few individual seads from the same stamp set, making them fly away from the dandelion.

For decorations I’ve added a few rhinestones, a white feather, some fine black yarn, a sea gull and a die cut LOVE, cut from black cardstock. I didn’t have any other matching text die and think it is still clear that this is a sympathy card.

Hope to have made you curious and you’ll pop back again later today to see my “similar and yet totally different” second card.

Hugs, Kathrin


This post is posted by Kathrin


Vilda Witch Treat Bag

Inlägget postat av on August 19, 2017 | | 450 kommentarer »


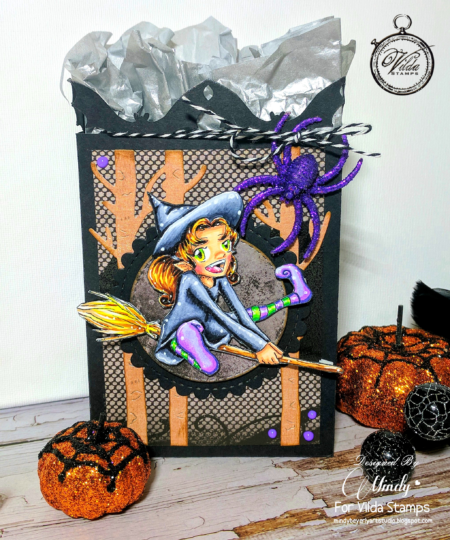
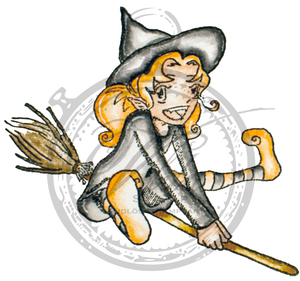
Hello Everyone! Today I want to share with you a treat bag that I created using one of the Adorable witch stamps from Vilda Stamps. For my treat bag I used the Super Cute Witch Manga V300 that you can find in the Vilda shop here:

http://shop.textalk.se/en/article.php?id=16232&art=4135151


To create my treat bag first I cut the treat bag base from plain black card stock. I then cut the front panel from patterned card stock and sized it to fit my treat bag perfectly. Next I stamped Witch Manga onto 110 lb. plain white card stock and then colored the image in with copics.

Copics used:

Skin: E11, E00, E000, RV21, R20

Hair: E59, E37, E35, E41, Y00

Outfit: 100, C-5, C-3, C-1, G17, YG06, YG11, BV08, V15, BV000

Broom: E59, E35, E41, E43, Y06, E35

I then attached the pattern paper panel to the front of the treat bag, and added some decorative birch tree die cuts. I then attached the Manga Witch with foam tape for some added dimension.  To finish I tied some twine onto the top of the treat bag, and then added a glitter spider. Thank you so much for stopping by. I hope that my project has inspired you to try out your own creations using these Amazing stamps from Vilda Stamps.


This post is posted by Mindy


Butterflies Everywhere

Inlägget postat av on August 14, 2017 | | 439 kommentarer »


Hello again everyone!

Welcome back here today and thanks for stopping by for my second project. Butterflies everywhere.

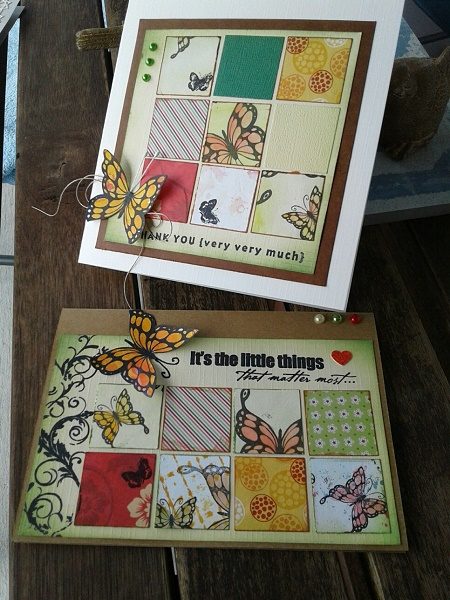
It’s so addictive to make these tickets. I always keep leftovers of paper. And some are far too beautiful.

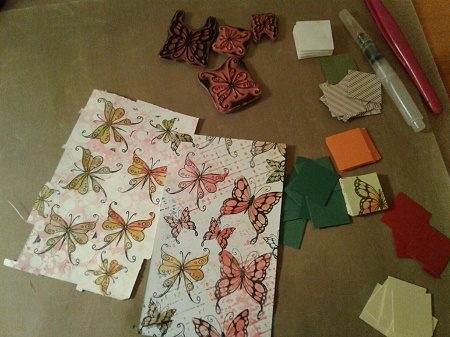
From my litter tray I extracted a piece of paper background that I worked with the gelli plate and stamp ink. Yellow and orange.

I stamped butterflies with Vilda V171 and V173. With waterproof ink.

The butterflies are colored with a suitable aqua marker.

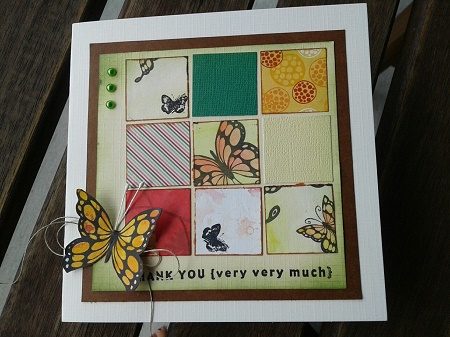
Now cut this piece all the way in squares 3x3cm. That can be done by punching, dies, or by ruler. Find some other appropriate paper. Effen, printed. Does not matter. But suitable in the colors yellow and red!

Bone the edges of each square Memento potter, s clay brown and some with Memento Bamboo leaves.

Paste all squares as a beautiful puzzle on a card. Cut an extra butterfly for decoration. Place text stamp V693 with black ink. And do you have space to fill up? At the side of the long card Vilda V540 Swirl stamps.

Decorate with string and sticky pearls by choice or by example. Betting that you become addicted too? All pieces will now be saved.


This post is posted by Karin


Jubilee Card

Inlägget postat av on August 14, 2017 | | 441 kommentarer »


Hi Everyone,

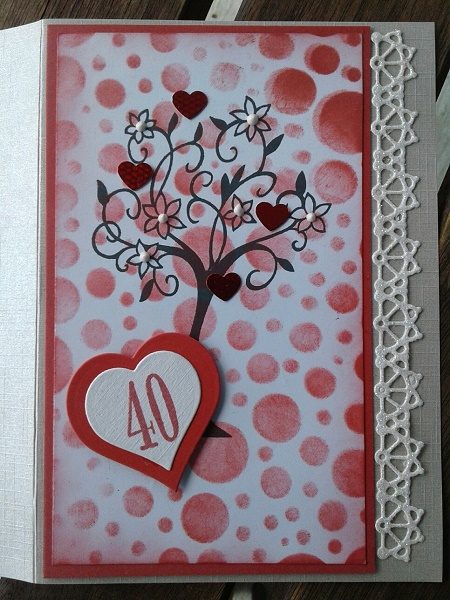
Everyone sometimes needs a jubilee card. I made this for a 40 year marriage of friends. It’s a Robins wedding. Therefore, the main color is red.

Necessities:

Base card silver metallic

Strip white: glitter paper, strip red metallic

Red 8.5 x 14.3 cm.

Red dotted: 13.8 x 8 cm. Homemade, white stamp paper, see for further explanation below.

Red heart, white heart. Stamp number 40, or at your own discretion.

Stamp Vilda V16 tree

Stamp ink. Waterproof Black, Red and Versa Magic: Red Magic

Punch little mini heart

Products Nellie Snellen: dies: SDL041, glitter paper white, MFD060 heart 2 x 1 white and 1 slightly larger red.

Stencil NMMS 001, dots

Ink applicator

3 D pearl paint


Method:

-Bake background buns of paper by rubbing with ink applicator over the stencil with Versa Magic red with rotary motion.

-Place tree with waterproof black ink. Paste here and there a punched mini heart.

Cut 2 different sizes of heart. On the white part a year of choice.

Mat everything on the basic card. Place the jubilee heart slightly higher with foam. Give white dots with 3 D pearl paint as flower heart.


This post is posted by Karin


I det enkla är det fina.

Inlägget postat av on August 2, 2017 | | 310 kommentarer »


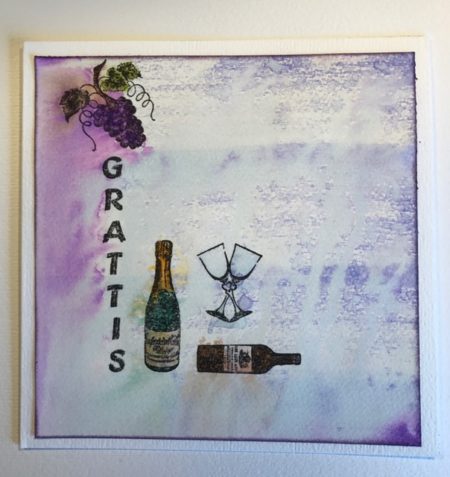
Grattiskort.

Ett väldigt enkelt kort som passar till nästan vem som helst som är vuxen.

målade bilderna och bakgrunden med Distresser sedan sprayade jag vatten på bakgrunden som fick rinna av. Ett litet grattis och vips så blev det klart att montera.

Jag har använt stämplar från ett kitt som heter Kvinnligt och har nummer v699.

Scrappa mycket och länge tills vi ses i nästa månad.

Kram Kerstin


This post is posted by Kerstin


I växthuset.

Inlägget postat av on August 2, 2017 | | Inga kommentarer »


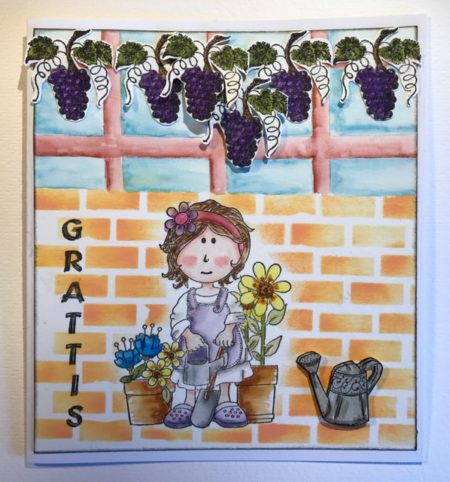
På detta kort har jag målat egen bakgrund med Distresser. Druvorna har jag klippt ut och överlappat. Vattenkannan blev också i 3D. Så har vi den fina trädgårdsflickan som jag målat med Distresser.

Trädgårdsmästaren har nr v840

Grattis text nr v255

druvor och vattenkanna är gamla stämplar som inte finns längre.

Kram

Kerstin


This post is posted by Kerstin


Brudpar i silhouette.

Inlägget postat av on August 2, 2017 | | 319 kommentarer »


Hej alla scrapvänner!

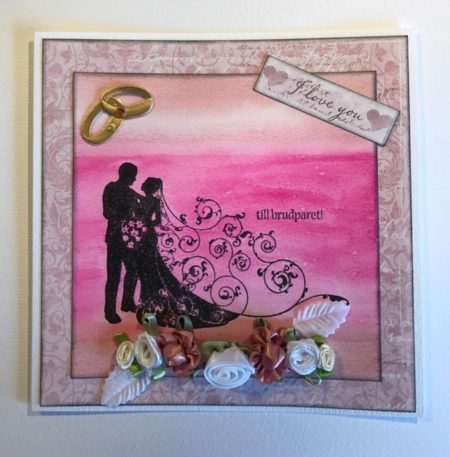
Jag startar med ett brudpar i silhouette. Tycker det blir vackert till en distressbakgrund.

Majapappret Sofiero är perfekt till brudparet.

Kram Kerstin

Stämpeln med brudparet har nummer v689


This post is posted by Kerstin


Related Posts Plugin for WordPress, Blogger...