FLOWERS
Inlägget postat av Tracy on July 30, 2017 | | 307 kommentarer »
DON’T FORGET TO JOIN IN OUR BLOG CHALLENGE FOR A CHANCE TO WIN FREE STAMPS AND A GUEST DT SPOT FOR A MONTH!
Inlägget postat av Tracy on July 30, 2017 | | 307 kommentarer »


Inlägget postat av Kathrin on July 21, 2017 | | 321 kommentarer »
Hello again everyone!
Welcome back here today and thanks for stopping by for my second project. After the coffee card I’ve shared earlier I now have a tag to share with you:

I just love those fish from the Fish Set with Swedish Text about Fishing – they are so cute with their goggles and big mouths!
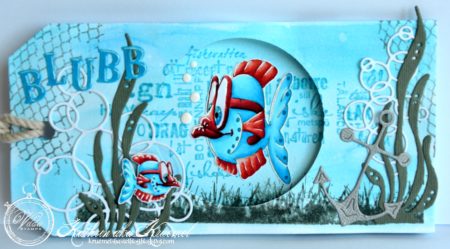
I’ve die cut two tags the same size and colored them in blue with Distress Inks.
Then I’ve used the text from the Fish Set and the lower grass border from the Grass Kit on both tags on exactly the same spot. Thanks to my stamping tool that wasn’t a challenge. Afterwards I’ve die cut a circle from one of the tags.
The fish were stamped on coloring paper and colored in with no visible lines. The goggles are covered with Glossy Accents.
To decorate the tag I’ve added some die cut water pants, an anchor and a few bubbles.
I wanted some text on my tag but don’t have any that go with a fish theme. So I’ve simply die cut some single letters from blue cardstock to write the word “Blubb”. I don’t have any idea if this is international but in german it means the sound a bubble makes when plopping out or bursting. So I thought that would go great with my tag – and a “blubb” just says it all. 😉 I’ve used a white gel marker to add some highlights to the letters and then covered them with Glossy Accents for some shine.
In the end I’ve put both tags on top of each other using a lot of foam tape. That helps to create some dimension. The bigger fish is glued to the lower tag, the bubbles coming from its mouth are made using white Enamel Accents.

And here I have another pic. I know, it’s blurry, I just took it to show the distance between those two tags and the dimensions I wrote about.
Have a happy day!
Hugs, Kathrin
Inlägget postat av Kathrin on July 21, 2017 | | 788 kommentarer »
Hello everyone!
It’s Kathrin here again today with my first project for you today to hopefully give you a new idea of how to use a few of those amazing stamps by Vildastamps.
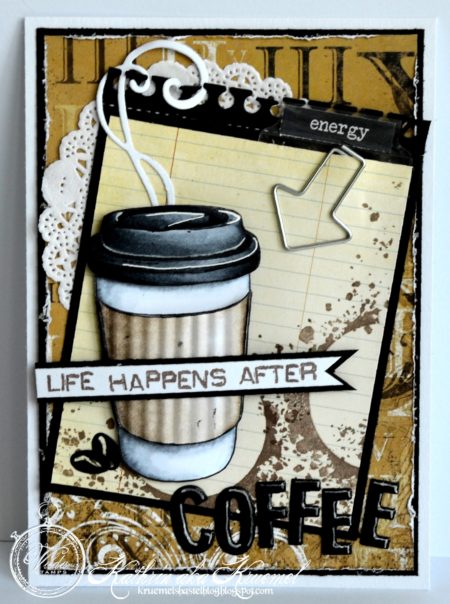
On this card I’ve used the Coffee Kit stamp set and the Scrap & Mixed Media Kit #2. I’ll tell you more about the details a little longer, with some close ups of the card.
In the background I’ve used a brown and black designer’s paper. I’ve also added a little doily here since those remind me of those old fashioned cafès where you get one of these under your cup.
Since I wanted some more contrast I’ve added a black cardstock rectangle that I used a border punch on one of the edges. For decorations I’ve added that “energy” paper strip that goes into a tab from foil I had lying around. The arrow clip points at the cup and brings coffee and energy together. I also added a flourish cut from white cardstock that looks like steam coming out from the cup.
I’ve also added some die cut letters that build the word coffee. The letters were cut from black cardstock, then I’ve added some highlights with a white sharpie and covered them with Glossy Accents.
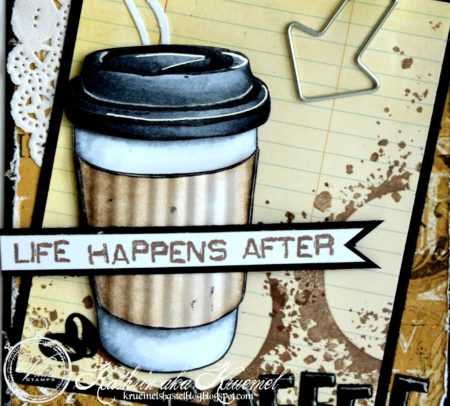
Here’s a close up of the main element of my card.
On the just slightly patterned paper here I’ve stamped one of the stamps from the Scrap & Mixed Media Set 2 that reminds me of those brims a cup can leave on a table. I think this one just goes great with the coffee cup.
The cup has been stamped twice. On the second image I only colored in the lid and the sleeve and cut thouse out individually. Then I’ve run the sleeve through my paper crimper to make it look like made from corrugated paper. The I’ve glued the sleeve to the cup using 3D tape.
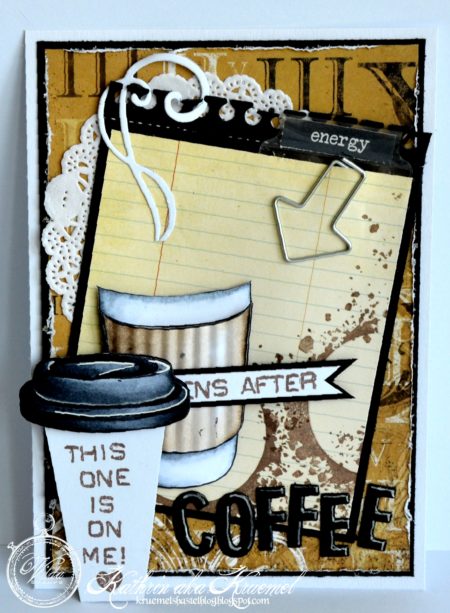
And here’s the little trick I’ve added to the card. The lids were cut off from the cup and glued together using 3D tape, addig a piece of white cardstock inbetween. Then I’ve cut this white cardstock more or less in the shape of the cup, just cutting it smaller. On this I’ve stamped “this one is on me!” using single letter stamps, creating some kind of a voucher.
Since the cup is glued to the card with 3D tape that is only applied to the edges of the cup the lid with the voucher can easily be slid into the cup.
Hope you liked this card and will be back later today for my second project.
Hugs, Kathrin
Inlägget postat av Mindy on July 19, 2017 | | Inga kommentarer »
Hello Everyone! Today I want to share with you a card that I created using the super Adorable Dragon Osten stamp from Vilda Stamps.
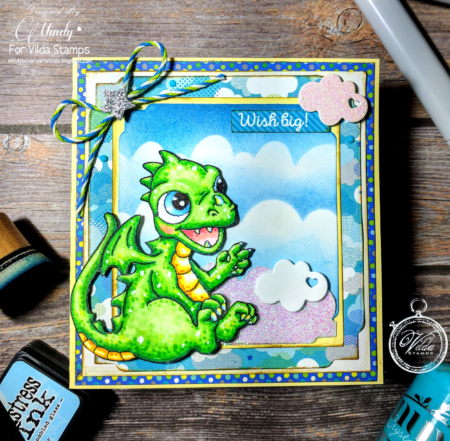
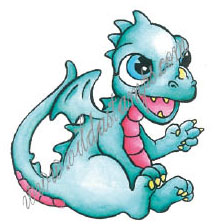
To create my card first I stamped this cutie dragon onto 110 lb. plain white card stock. I then colored the image in with the following Copic colors:
Dragon: YG09, YG06, YG11, Y00, 0, Y17, Y06, RV21, R20, RV000
I then fussy cut the dragon out and set him aside. Next I cut all my card mats and frames with dies and inked the edges with Distress Ink in Vintage Photo. I then made a stencil for my cloud background and blended Distress Ink in Mermaid Lagoon, and Stormy Sky to create my cloud scene. Thank you for stopping by. I hope that my card has inspired you to try out your own creations using these Adorable stamps from Vilda Stamps.
Inlägget postat av Kai on July 14, 2017 | | 439 kommentarer »
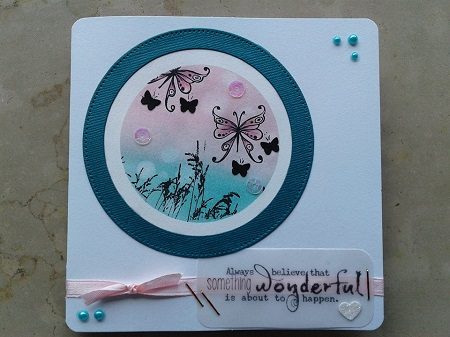
Double card base square, 80 gr. Paper for template, velvet paper, aquarell paper, green, black paper.
Wild Stamp: V173, V436, V763
Stamp ink Distress: Spun suger, evergreen bough, waterproof black.
Color pencil Derwent pink
Rounding punch
Nellie Snellen Products: Mixed Media Template Circles NMMS 001
Mini Punch butterfly
Dies: MFD 085, MFD 100, MFD 103
For decoration of choice ribbon, pearls, paillet
Glue, staples
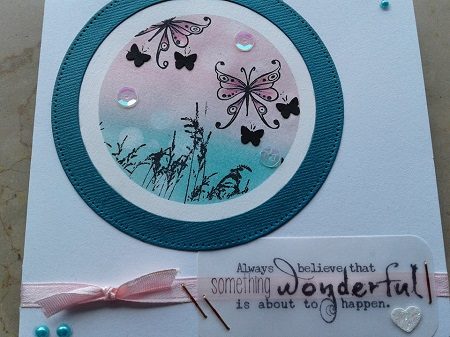
Method
Round the corners of the base card.
Create a paper template with a circle. Put watercolor paper below
Piece of watercolor paper on 2 pieces. Put the template on it and spray a little water. Gently wipe away. So you get water cirkels. Allow to dry well
Stamp butterflies and grass with waterproof ink. Remove paper template. Color the butterflies. Punch of small black butterflies. Decorate the circle with a cut green circle.
Stamp text on velvet paper. Cut out the rectangle.
Place ribbon all over the card. Behind the word wonderful it runs the ribbon. Stick with staples.
Decorate the card by example
Succes! Karin
Inlägget postat av Kai on July 14, 2017 | | 453 kommentarer »
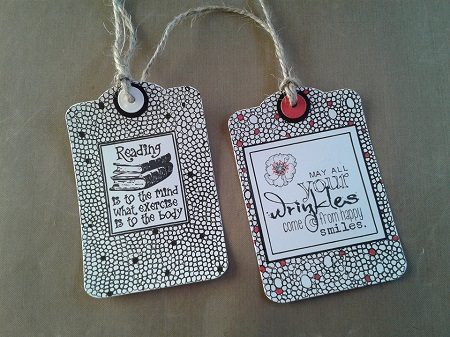
Holiday tricks
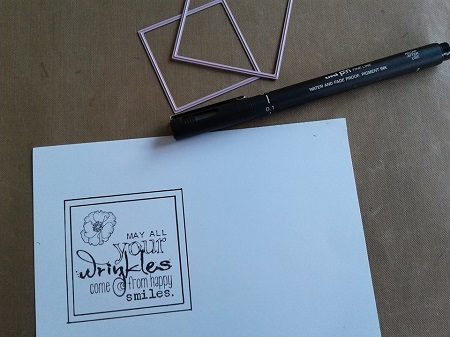
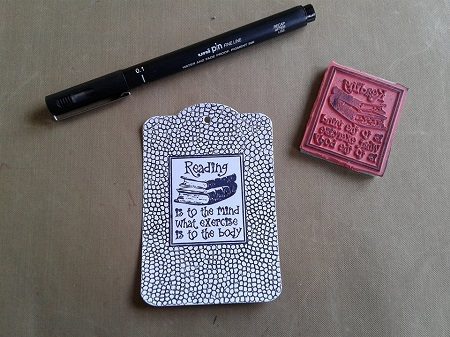
What’s more fun on the way to your vacation destination to kill time with doodles or zentangle. Filling spaces with simple drawings. And then used as a bookkeeper.
Paper white, black, red
Stamps Vilda V 697, V 693, V 763
Fineliners red, black
Dies tag shape
Black ink.
Punch 2 sizes small rounds
Glue
Hoops Tang
rope
Job Description
Stamp text stamp in the middle of the cut-out tag. Reverse the text stamp if it has no edge. Draw big and small rounds with the fineliner. And fill in the entire tag. Paste the rounded circles. Punch with a hole pin a hole for the string.
Color in and out a circle according to example.
Inlägget postat av Anita on July 7, 2017 | | 131 kommentarer »
Michelle Windsor our guest-designer from Australia is leaving us.
We have enjoyed all your lovely creations. Thank you!
Michelle Windsor vår gäst-DT från Australien lämnar nu oss.
Vi har njutit av alla dina härliga alster. Tack!

Inlägget postat av Sari on July 5, 2017 | | 642 kommentarer »
Hello there…
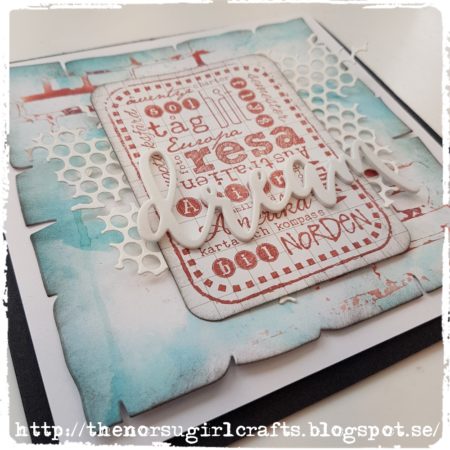
I’ve had some fun with both stencils and sprays, together with a travel themed stamp from Vilda Stamps this time. I’ve used a stamp that can be used for pocket page scrapbooking, as well as a statement in a travel themed mini album or a handmade card. The stamp is found in a set of two travel themed stamps, V767 (Småkort semester A6).
Here you can se the pattern paper that I’ve created with Brusho powder and water. I’ve also used a brick wall stencil with red ink, that I’ve used the left over ink from, to ”stamp” it to the paper. I tried different red hues of ink before I settled for the Fired Brick distress ink from Tim Holtz/Ranger.
I’ll be showing you a couple of versions of making a card like this.
Here’s the base. I’ve cut the pattern paper with a die, that’s called Old paper.
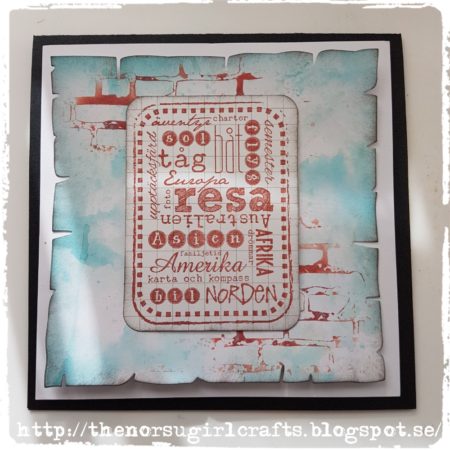
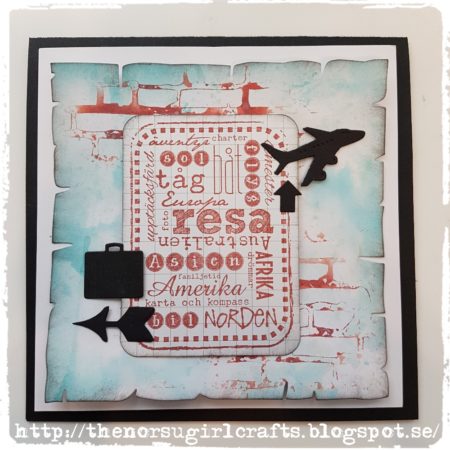
You could decorate it with travel themed die cuts, like a suitcase and an aeroplane together with some arrows. Perhaps the black paper is too much of a contrast for this card, but I’m hoping you’ll get the idea.
You could also die cut a word out of funky foam.

It’s nice to add on some texture. Here I’ve die cut a punchinella piece of paper. I’ve divided it in two, to make it stretch to both sides of the pocket page card.

Here I’m combining both the punchinella die cut and the word die cut.
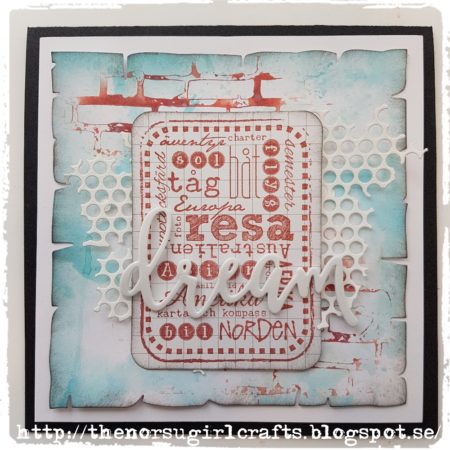
I think this might be the best way to go about it, in my book :). I like the dimention and texture that the card has.
