Inlägget postat av Kathrin on September 21, 2015 | |
630 kommentarer »
Hello everyone!
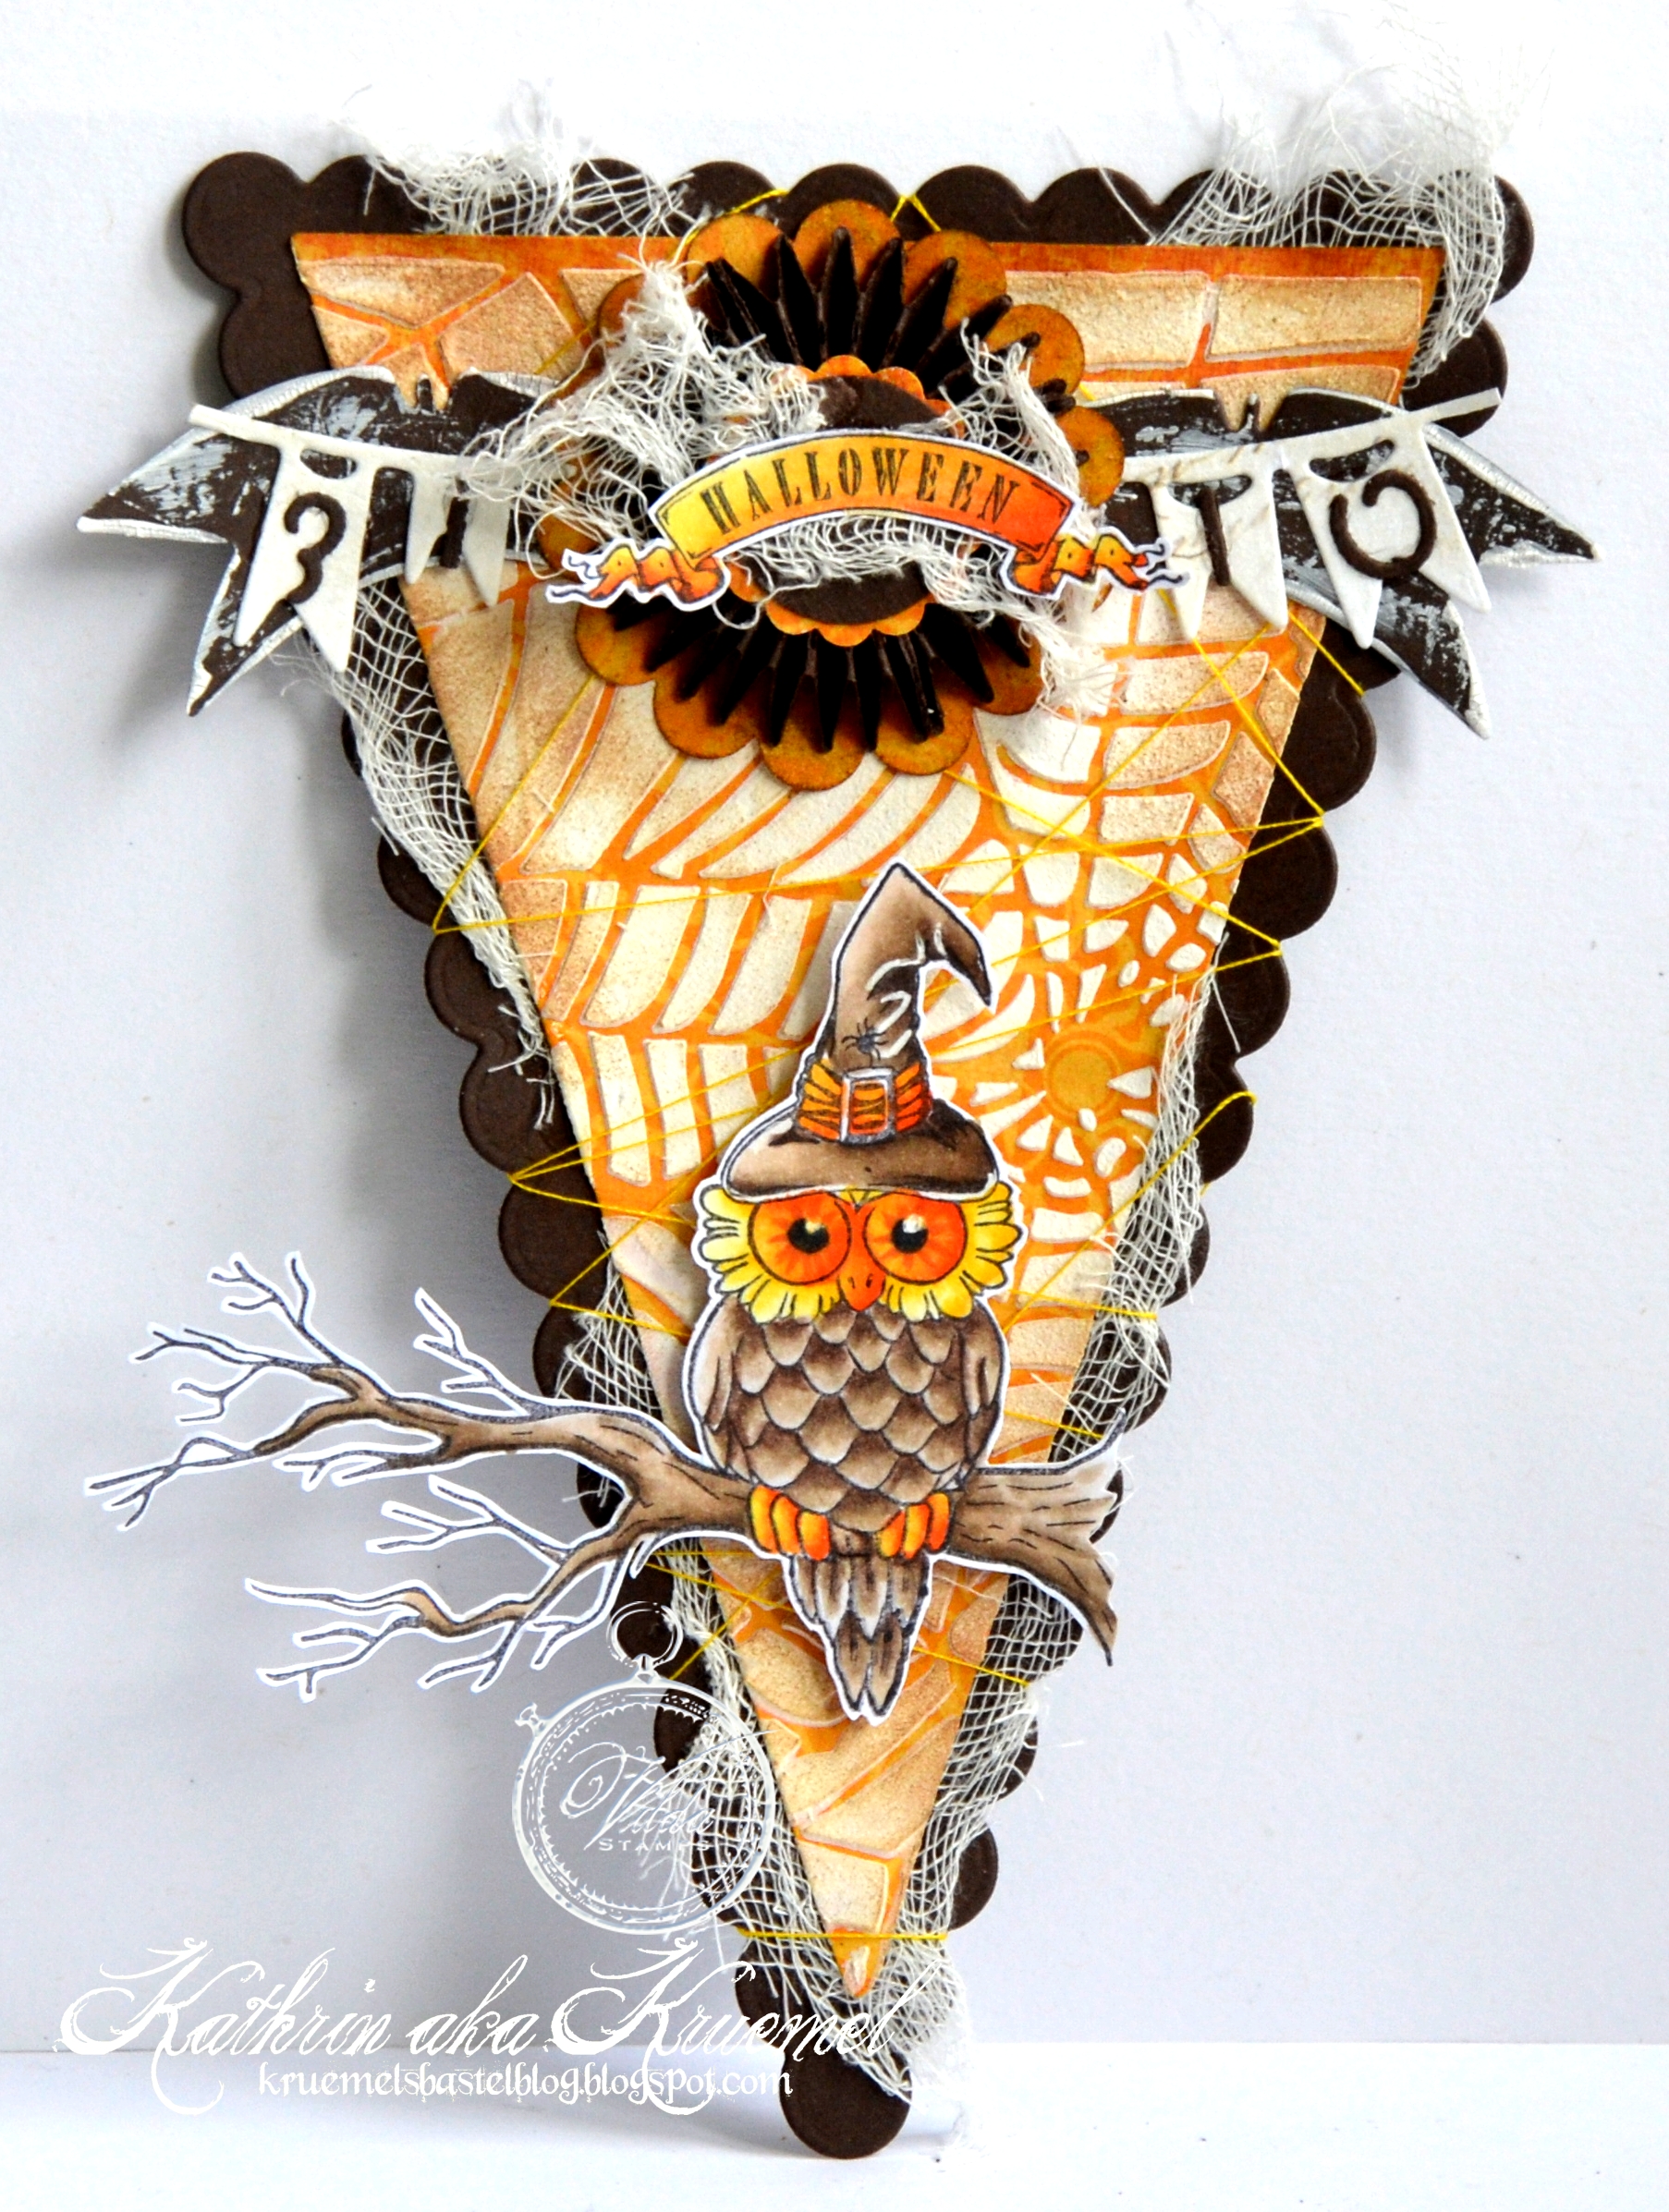
It’s Kathrin here with my first post of today. I love Halloween. We live in an area in Germany with lots of Americans and so my kids grew up with this holiday. We threw some great parties and of course trick or treat tours were one of their favourites. So, I mad a little Halloween banner for today:
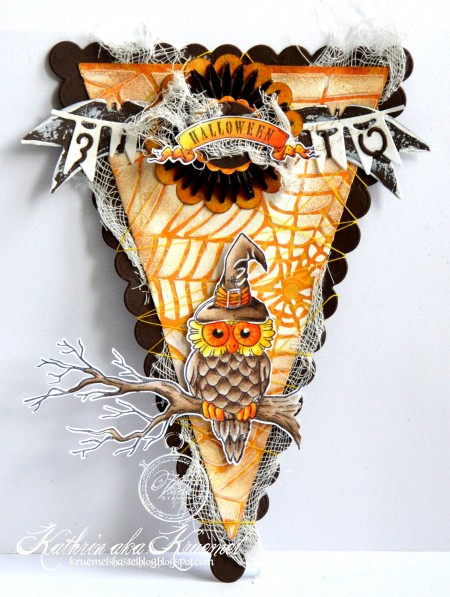
The banner itself is made from a scalloped banner from brown cardstock with an orange banner on top. I used some white structure paste on the orange designer’s paper to add a spider web. There is some cheesecloth inbetween those layers and everything was wrapped with orange sewing yarn. I didn’t want anything too spooky with this little owl but it definately needed a halloween-ish touch.
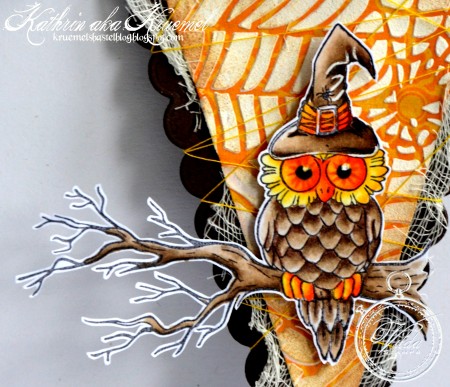
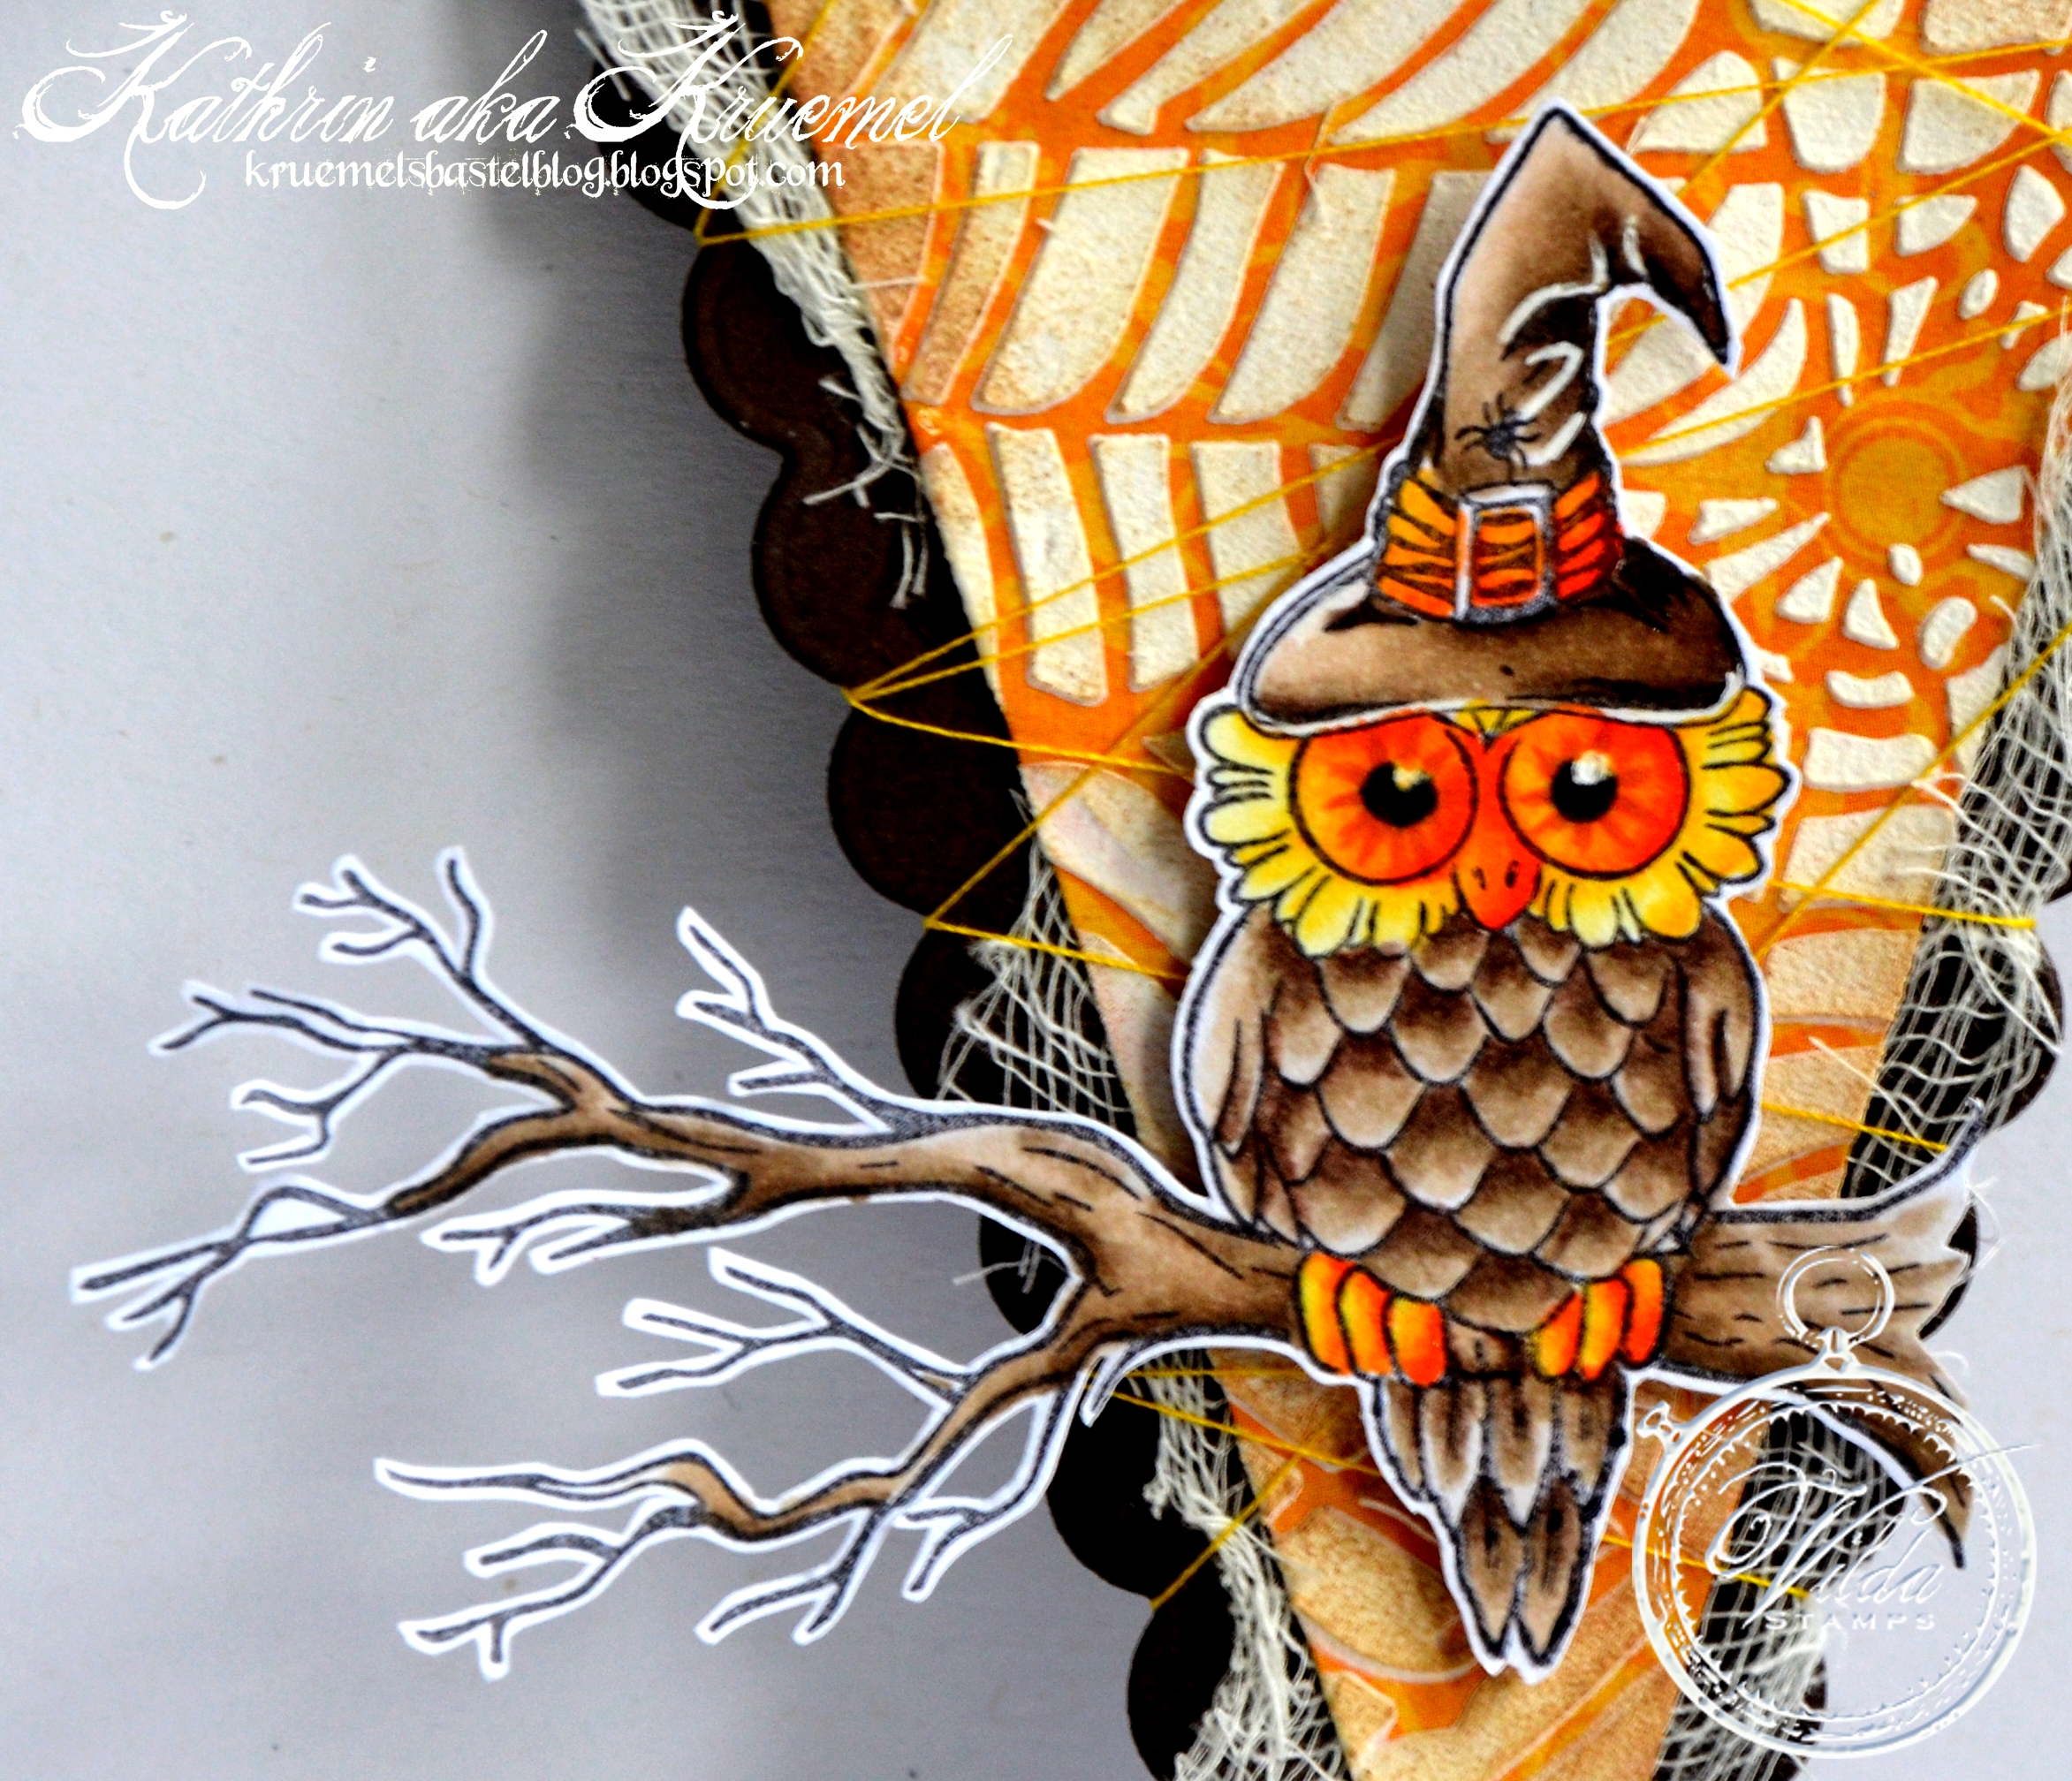
Isn’t this little owl the cutest?! It comes in the Halloween 2014 V817 stamp set and I mounted it on the branch from the same stamp set. I cut off the stem of the tree. The owl was colored with Copics using mainly browns and orange. I tried to give the eyes a special look… Then owl and branch were cut out close to the stamped lines. That was a bit tricky with the small twigs on the branch but I like how it turned out!
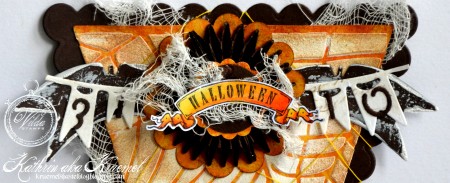
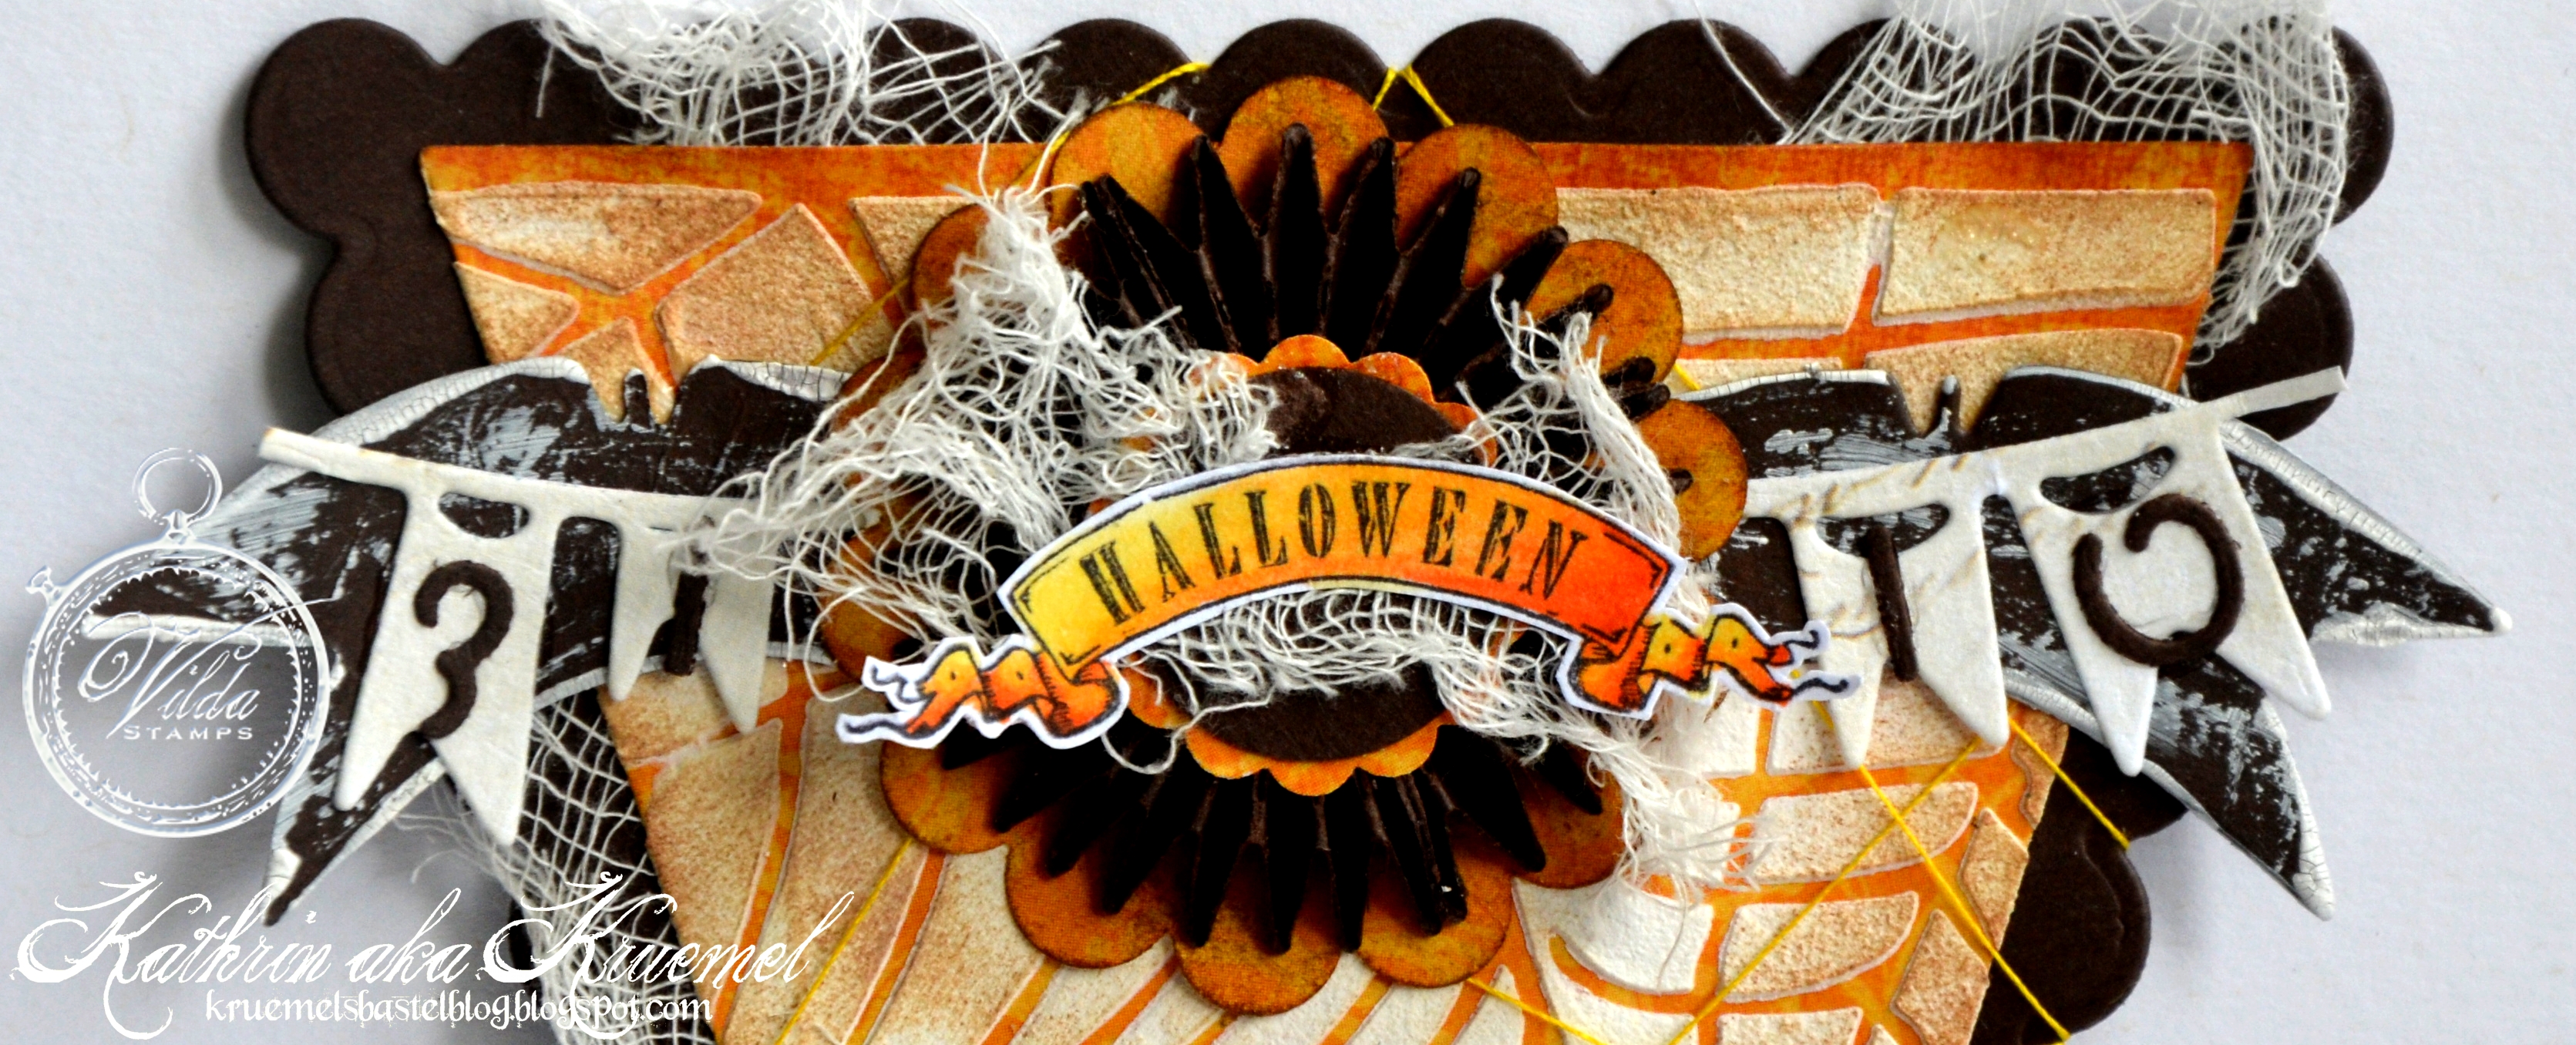
To the top of my banner I added a rosette from dark brown cardstock and then used the Halloween banner stamp – it also comes in the kit – as the centerpiece. I added a banner underneath the rosette that, in the way I glued it down, reminds me of bat wings. Then I also added the date 31.10. with little cut out numbers.
So, are you in a Halloween mood already? If not, I have another Halloween project to share with you so check back again later today!
Kathrin
This post is posted by Kathrin
Kategori : Halloween, Home Decor |
630 kommentarer »
Inlägget postat av Margreet on September 19, 2015 | |
5,471 kommentarer »
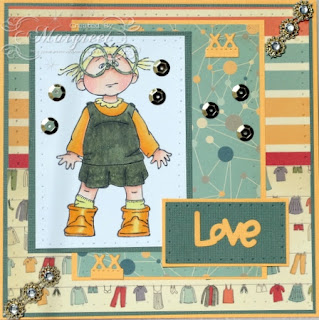
Hi, again some inspiration from me.
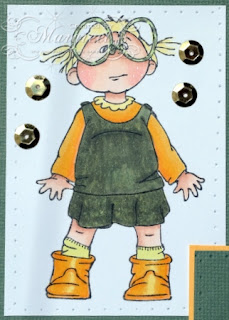
I so love this girl with her super specs. If you want to have her too, it is stamp V618. There is also a boy’s version. I’ll make a card with him later on. I colored with copics and added some glimmery details.
xxx Margreet
This post is posted by Margreet
Kategori : Cards |
5,471 kommentarer »
Inlägget postat av Margreet on September 19, 2015 | |
1,853 kommentarer »
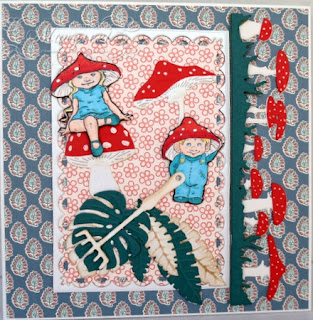
Hi, Margreet here with some autumn inspiration.
For this card I have used various dies from Marianne Design and Joy!crafts.
The stamps I used are from stamp kit V219 and are both colored with Promarkers.
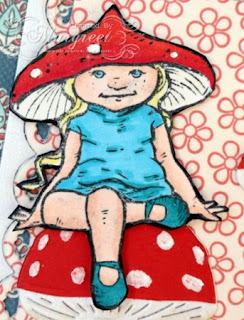
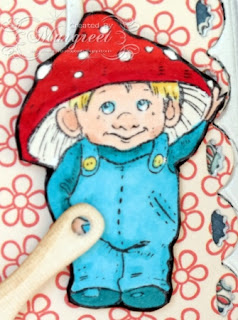
These stamps belong to stamp kit V219, which you can see below:

xxx Margreet
This post is posted by Margreet
Kategori : Cards |
1,853 kommentarer »
Inlägget postat av Lousan on September 17, 2015 | |
2,803 kommentarer »
Det här kortet som är vikt för att ha sedlar/presentkort i gjorde jag till ett bröllopspar.
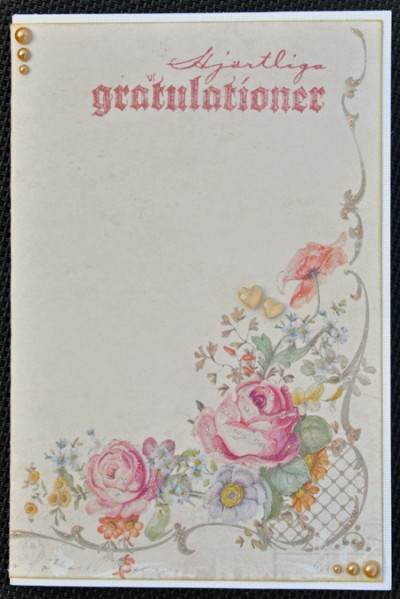
Mönsterpapperet är från Pion Design.
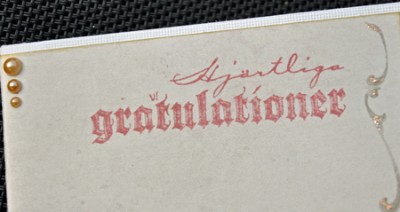
På framsidan använde jag en textstämpel, V73.
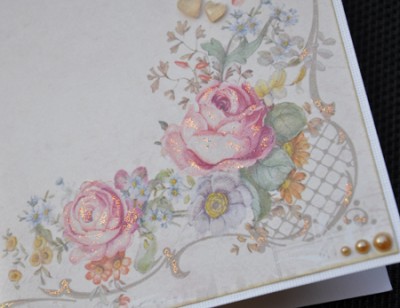
Lite stickles på rosorna och några halvpärlor.
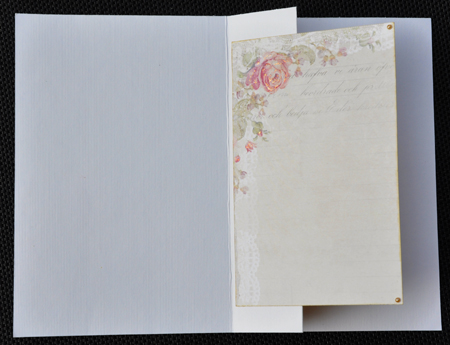
Det här är insidan. Jag valde att limma dit ett litet mönsterpapper för att dölja sedeln. Man kan även göra kortet utan det och skriva en hälsning på själva kortstommen om man vill.
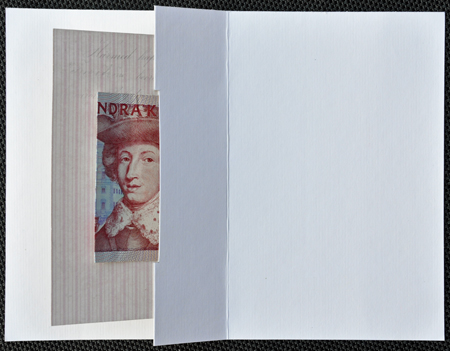
Bakom det så är själva “fickan” för sedeln/presentkortet.
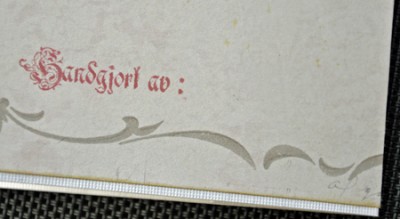
På baksidan av kortet så har jag stämplar med en texstämpel från kitet handstämplat & handgjort texter, V419.
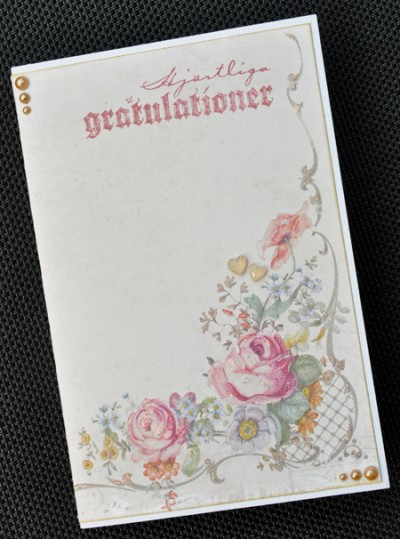
Mitt på kortet så är det två hjärtan.
Hoppas ni har det bra i höstrusket. Här är det blandat med sol, regn, blåst och åska. Skiner solen så kan det fortfarande vara varma dagar.
Ha det gott!
Kram Lousan
This post is posted by Lousan
Kategori : Cards, Special card folds |
2,803 kommentarer »
Inlägget postat av Sari on September 16, 2015 | |
681 kommentarer »
Nu är det dags för uppslag nummer 2 i min bok om olika stämplingstekniker… Just den här bilden får jag tyvärr inte till att illustrera “kortet” nedan. Det är mycket finare i verkligheten.

Jag har färgat in vingarna – som jag stansat ut med en stansmall från Cheery Lynn (Wings) – med Distress Stain-färger (Brushed Pewter och de nya tre färgerna…).
Jag har stansat ut en form från en av Tim Holtz etiketter…
Jag har också torrembossat ett papper med moln… Jag har färgat in embossingfoldern på ena sidan innan jag manglat fram den genom Big Shot-maskinen.
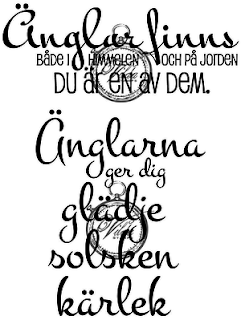
Jag har stämplat uttrycket Änglar finns både i himlen och på jorden. Du är en av dem (Vilda Stamps – V819 – Änglatexter)
This post is posted by Sari
Kategori : Cards, Krympplast/Shrink plastic |
681 kommentarer »
Inlägget postat av Kai on September 14, 2015 | |
422 kommentarer »
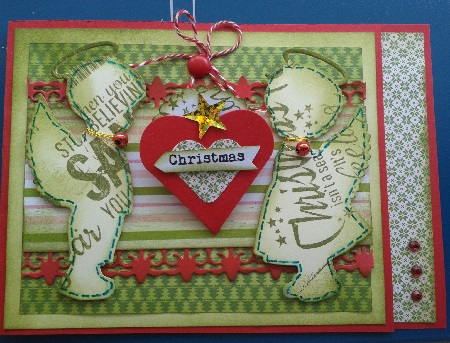
Needed:
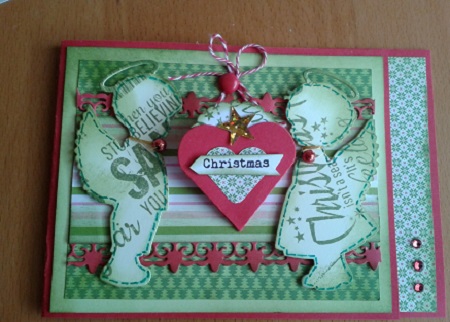
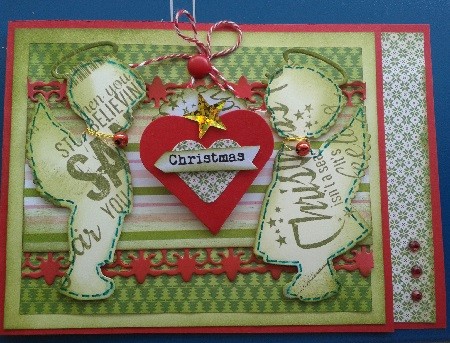
Cardstock red: 10.5 x 28.4 cm, shivering from the left at 13 cm. Is the fold line. Strip 10x 15cm. White: 10 x 12.5cm, Circle punches around: 3.8 cm.
Printed paper in shades of green: 11.5 x 9cm, 6×11.5c cm. m, 3×10.
Nellie Snellen angels: shape dies: SD 073, SD074
Nellie Snellen wrappig Who: Heart WPD 001
Nellie Snellen Multi Frame border: MFD 028
Pons circle diameter: 3.8 cm, heart.
Vilda stamp text: V 804
Distress ink: green, distress tool, Archival black
Gold thread, 2 x red bead, red / white wire, glitter stones, brad red, sequin star
Glitter Stift; wink or stella
Glue and 3 D foam
Method;
All bearings and loose beinken with greenery. Make clusters temple with different lyrics and stamp on the cherubs and circle.
Before gluing the brad. Then, all the pieces to be glued together.
Along the edge of the angels with a fine liner green dashed line with glitter and a wink or stella. Around the neckline several times with gold wire wrap bead strung it. Adhesive foam.
Cut, fold and glue the heart. Secure with bow tie and top front center of a punched out printed Christmas paper. In the heart adjusts the circle with appropriate text and sequin heart.
On card behind the strip 3 x 10cm stick. Decorate with glitter.
Cut out white labeled text christmas and cut in arrow shape. Slice on top heart bag.
Have fun making this card.
This post is posted by Karin
Kategori : Cards |
422 kommentarer »
Inlägget postat av Kai on September 14, 2015 | |
3,691 kommentarer »
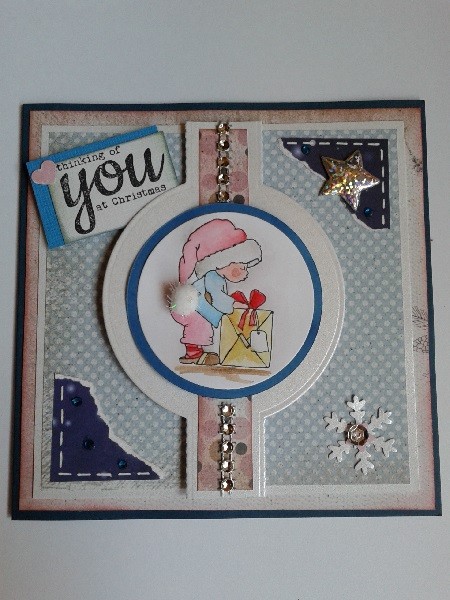
Necessities
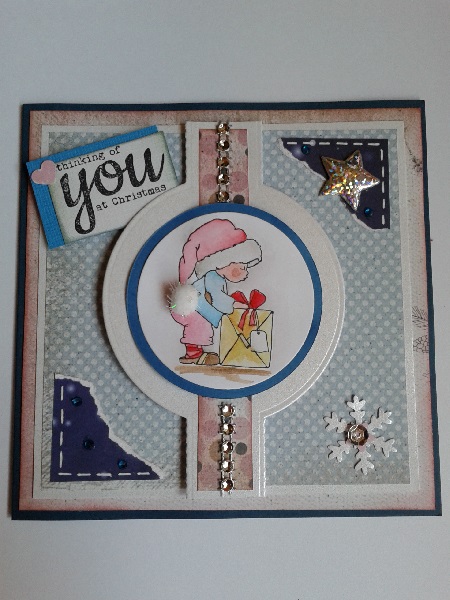
Dual card 13.5 x 13.5 cm dark blue, gray paper: 13 x 13 cm glossy white 12 x 16 cm,
2 Strips printed dot 5.2x 11,5 cm, matching stubs for middle at 1.5 x 11.5 cm: from paper block Shabby Christmas Joy!
For the text white 4 x 2.7 cm,
Nellie Snellen cutting template MFD055: round and Nellie Snellen: Pop up mold around POP002,
Pons snowflake FLP 041,
Two circles 1x white Diameter: 5.8 cm and 1x blue 6.3cm.
Vilda stamps V714, V804, stamping ink Achival black, colorants Aqua Markers.
Cut embossing machine. 3 D Glue, glue three
Distress tool and distress ink: pink velvet victorian, tumbled glass
Leftover cardstock blue, white for decorations on map
For decoration
Rhinestone ribbon about 15 cm. Wink of Stella Glitter snow, blue glitter stones. sequin mini pompom, star dust, white gel pen writing
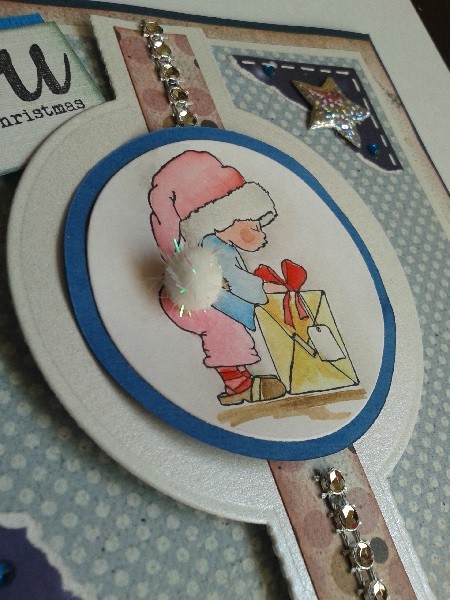
Procedure: Glossy white paper 12 x 16 cm cut out using the method of Nellie Snellen pop up mold. (This is useful if you are in possession of the mold MFD 055 circles) and fold.
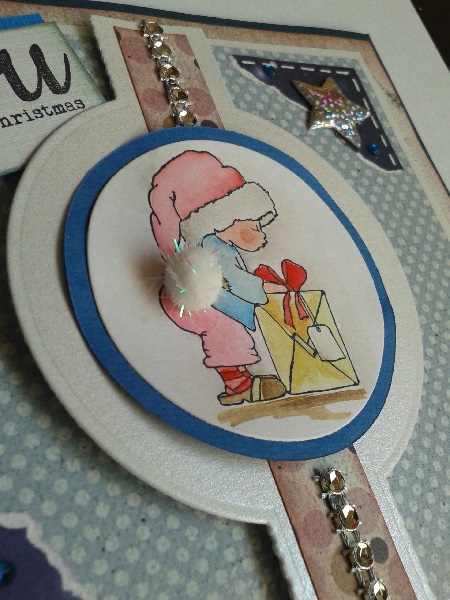
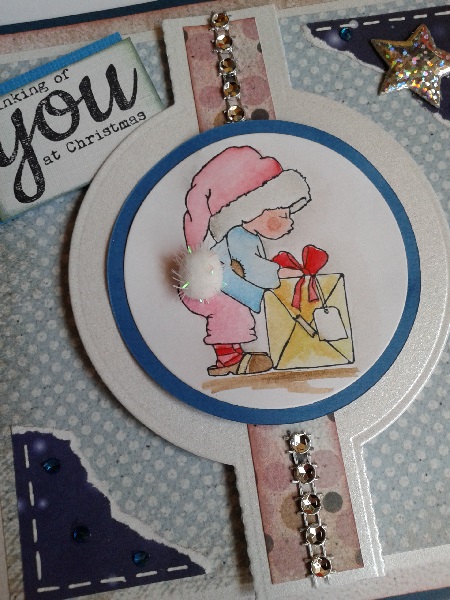
Stamp on white circle image and color.
• Beink the outside edge of square oplegvel
• Stick to the exteriors of the circle printed strips of 5.2 x 12 cm. In the middle of the printed strip
• Stick in the middle the middle of the circle the colored stamped image with blue circle
• Stick the rhinestone ribbon on the straight strip and to the image.
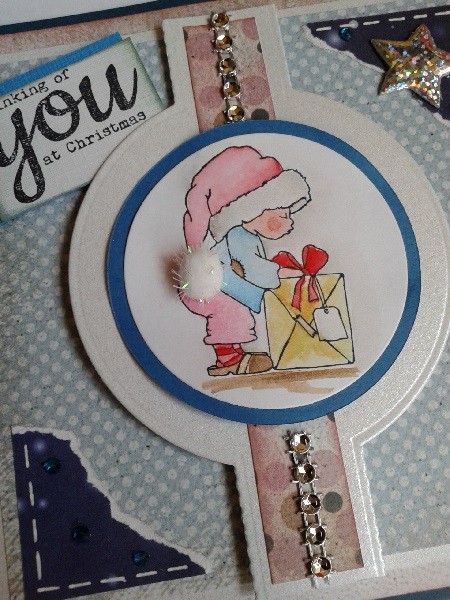
• Provide the image of glitter or snow and pompom.
• Right Bottom snow crystal flower
• Bottom Left and right upper tear a corner of 45 degrees, stick equipped with rhinestones and white gelpen dash line, star dust.
• Top right piece of text beinken blue: tumbled glass square cut. Mats with blue in 3 D sticking.
• tighten the whole square on the map. Hold a moment the outer sides so that the paper has adhesive grip on the paper.
This post is posted by Karin
Kategori : Cards |
3,691 kommentarer »
Inlägget postat av Irene on September 13, 2015 | |
1,075 kommentarer »
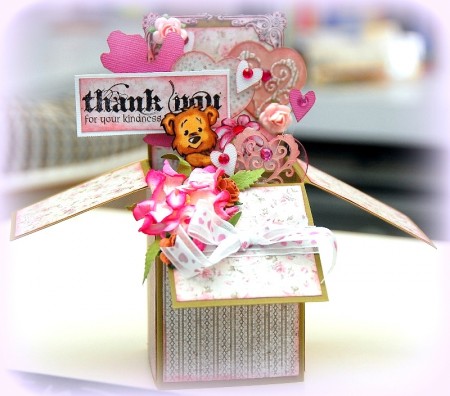
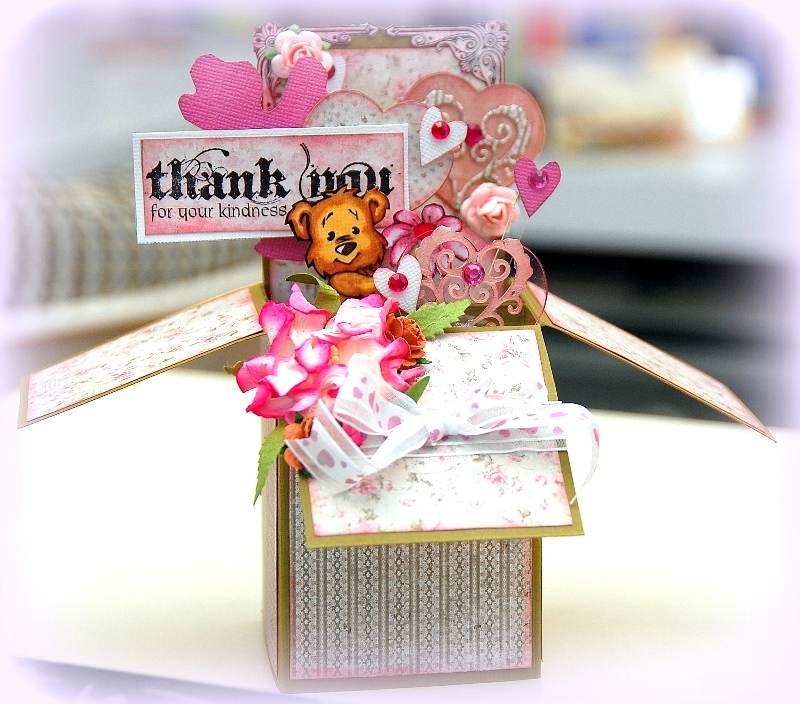
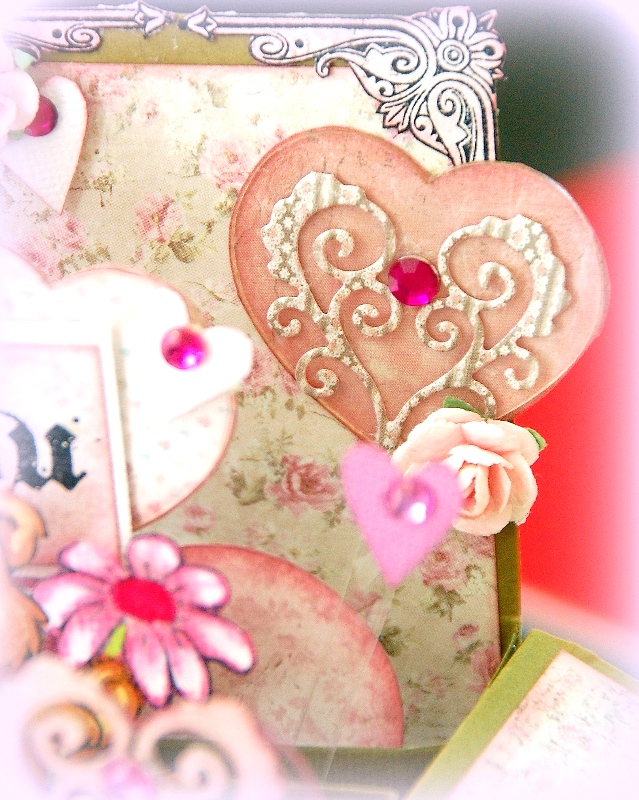
Hello everyone! Today, I want to share with you all a box card which I’ve created using some beautiful stamps by Vilda Stamps.
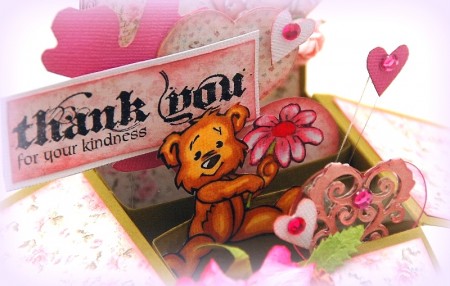
I’ve used a cute teddy bear stamp and color it with some markers. I’ve also used a sentiment stamp and a corner stamp to create this card.
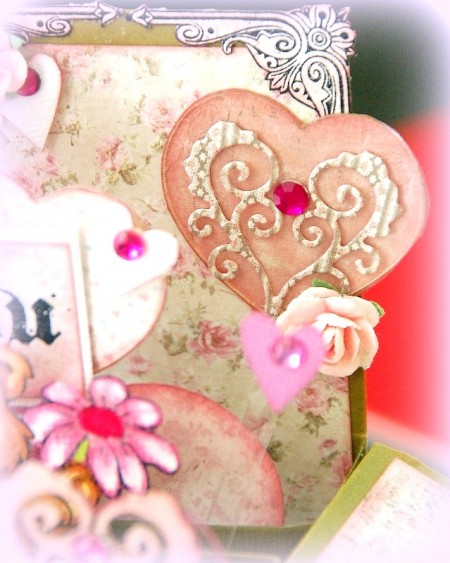
Stamps used:
V411
V693
V292
See you soon!
xx Irene Tan
This post is posted by Irene

Kategori : Cards |
1,075 kommentarer »