Inlägget postat av Kathrin on May 21, 2017 | |
550 kommentarer »
Hello everyone!
Happy to see you here today. So let’s start with my first project for the day – a birthday tag:
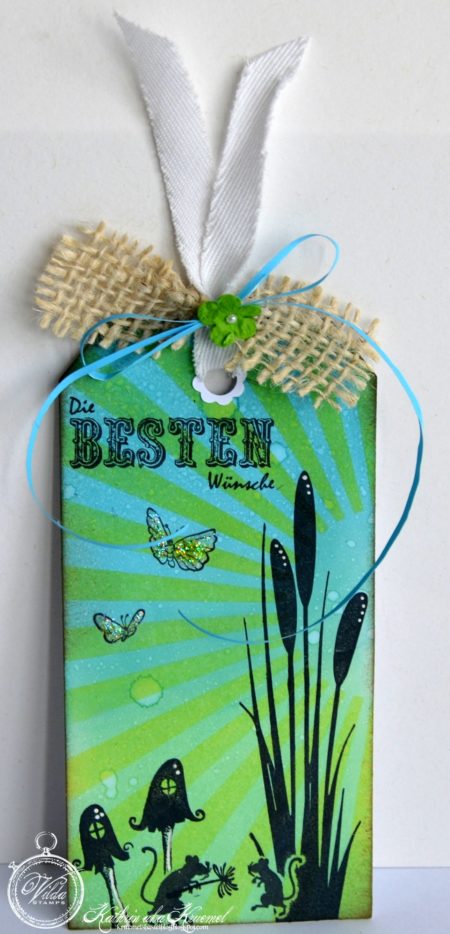
I just love those mice from the new Silouette Nature stamp set. And then I had the idea of telling a little story with my tag. So, the left mouse is the female, it’s her birthday today. Have you ever wondered what mice give each other for their birthdays? I will reveal this secret for you today: mice love flowers, too! But most of them are way too large for them to carry. So they use dandelion seeds instead, and for those mice they look like a whole bouquet of flowers… 😉
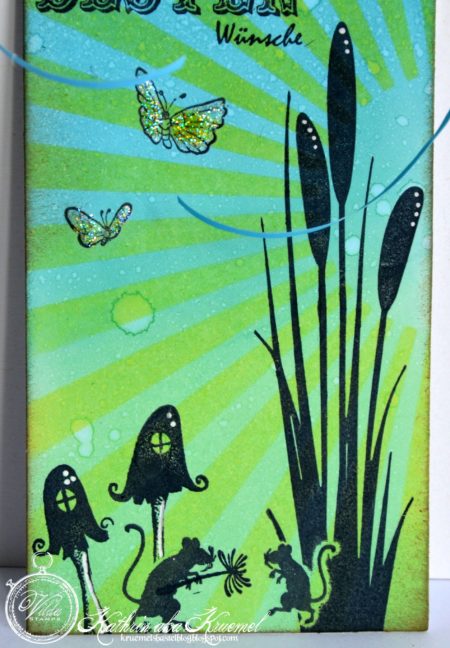
I did the background in green and blue first, then added the sunrays using a stencil. On top of that I stamped the different images. Masking the mice was a little tricky, but it worked.
The mushrooms are from the Fantasy 2 stamp set. They just fit this scene so perfectly.
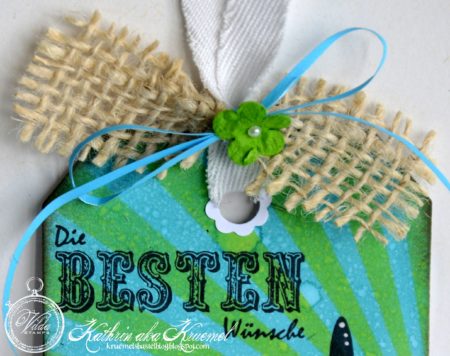
For the saying I used a stamp from the German Lyrics stamp set. I didn’t stamp the frame around it to make it fit my tag. It’s also this set where the butterflies come from. I have no idea if they are meant to be cut off the saying they were next to, but I simply did. After stampig I added some Stickles to add just a tiny bit of glimmer.
Then I’ve tied some white ribbon, this net stuff and a blue ribbon on top of the tag and added a green flower with a pearl.
See you again later today!
Hugs, Kathrin
This post is posted by Kathrin
Kategori : Collage stamping, Tags |
550 kommentarer »
Inlägget postat av Mindy on May 19, 2017 | |
587 kommentarer »
Hello Everyone! Today I want to stop by and share with you a Fairy Window Frame Card that I created using some Gorgeous stamps from Vilda Stamps.
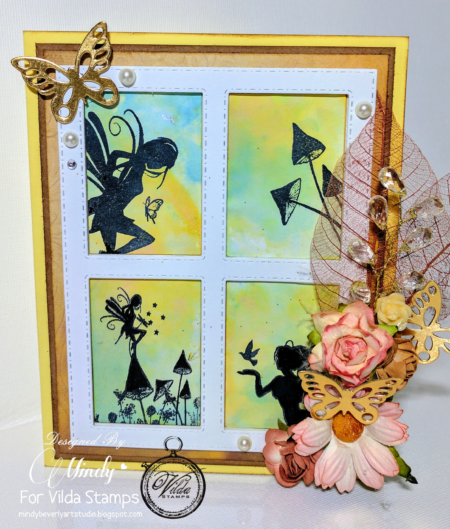
For my card I used the following Vilda Stamps:
Puck and Sebille V855 that you can find in the Vilda shop here:
http://shop.textalk.se/en/article.php?id=16232&art=114651476&grp=540537

I also used Fantasy 1 V856 that you can find in the Vilda shop here:
http://shop.textalk.se/en/article.php?id=16232&art=114651480
To create my card first I cut my mats and frames. I then used Distress Oxide inks in the following colors to blend for my background: Broken China, Peeled Paint, Spiced Marmalade, and Fossilized Amber. After that I took my top most window frame die and layered it over my blended background and marked with a pencil where the window cutouts would be. I did this so that I could decide exactly where I wanted the stamped images to line up within the windows. Next I stamped the fairy silhouettes from both stamp sets into the windows to create my scene.
To finish I attached all of my mats and frames to my card base. I then used foam tape for the top die cut window frame to give some extra dimension. After that I embellished my card with flowers, some die cut butterflies, gems, feathers, and pearls. I hope that you enjoyed my card and are inspired to try out your own creations with these Gorgeous stamps. Thank you for stopping by!
This post is posted by Mindy
Kategori : Cards, New stamps |
587 kommentarer »
Inlägget postat av Kai on May 14, 2017 | |
449 kommentarer »
The temperatures outside are good, so time to get the BBQ out.
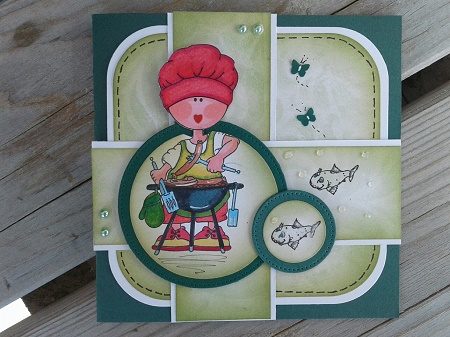 Requirements and procedures:
Basecard 13×13 cm green, paper white and green
Nellie Snellen Mixed Media NMMS004 Stencil Background Swirl Memento Bamboo Leaves Green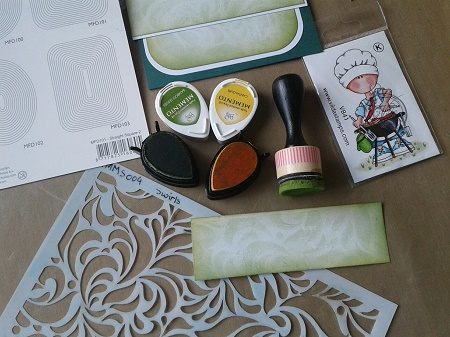
Edged with swirl and white cut with Nellie Snellen dies MFD101
Striped white 13 x 4.5 cm, swirl edged 13 x 4 cm 2 pieces
Stamps V841 and V395 with water-resistant ink and coloring of your choice.
Stamp prints in Circles cut with MFD055 and in green with MFD 085
Everything is inking round with Memento Cantaloupe and Memento Bamboo Leaves with round ink applicator. This way the background color returns everywhere.
Water drops with 3 D glossy around the fish.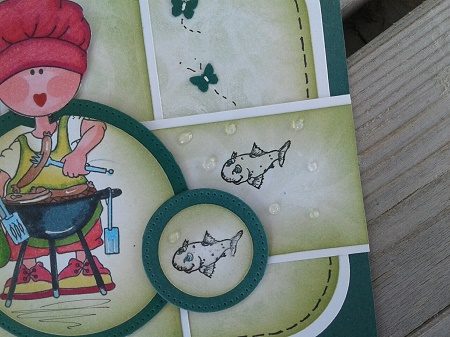
Punch little heart and butterflies.
Paste everything on the card with double sided adhesive tape, glue and circle with the BBQ master in 3 D. Decorate with sticky beads according to example.
This post is posted by Karin
Kategori : Cards |
449 kommentarer »
Inlägget postat av Kai on May 14, 2017 | |
454 kommentarer »
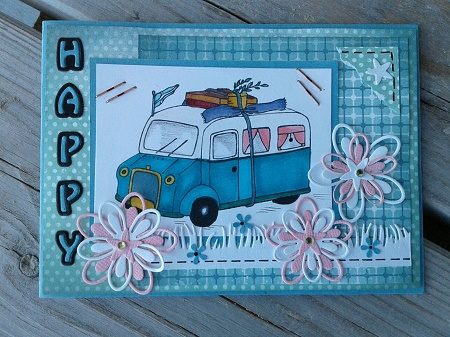
Necessities:
Stamp V72 Camper, Black Stamp Ink Waterproof.
Nellie Snellen dies grass: SD111, SD 126 flower, SD 080 Alphabet
Nellie Snellen: Fancy punch little flower, butterfly.
Versa Magic Aegean Blue Stamp Ink, Ink Applicator
Black fine liner, wink of stella clear, glitters, glue and 3 d glue.
Coloring agents to color stamp prints of your choice.
Stapler, cutting and embossing machine
Method:
Cut all customized. Fold card with small fold line on the right side.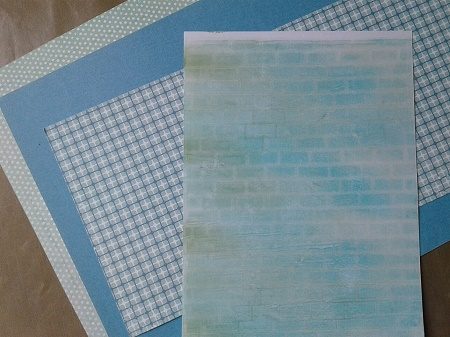
Paper: Basic Map 29.6×10.5cm Blue Double Folding, Blue 9.5cm x 7, Dot 10 x 14.3cm incl. Left corner, faded background 10.5 x 9 cm. White stamp paper 6.5 x9 cm.
Stamp print and color with color. Wink of stella on top of the roof camper.
Rest paper white, black, pink, blue for grass strip, flowers and letters
Beink the cutting square parts. Glue everything on the backing sheet. Paste if this is done in 3 D on the base map.
Decorate the card of your choice with slabs and fine liner.
Kai 4 Yoe
This post is posted by Karin
Kategori : Cards |
454 kommentarer »
Inlägget postat av Michelle on May 10, 2017 | |
319 kommentarer »
Hi everyone it is Michelle here to show you another fantastic stamp
called Easter Bunny and Rooster this stamp is so cute great for Easter but could be used
for other occasions
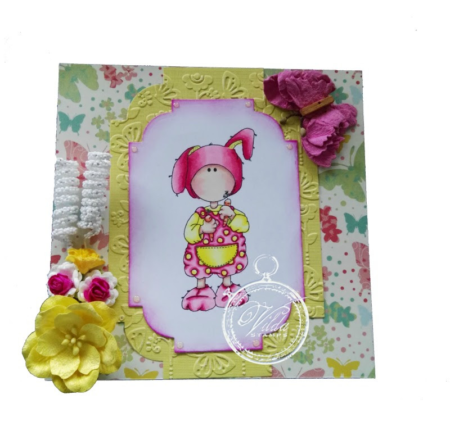
I have coloured this stamp with Copics I have used mulberry flowers and butterfly
for embellishments I have backed this stamp with a Embossed die cut and added
some Nuvo crystal drops
Hope you all like my project and thank you for stopping by

This post is posted by Michelle
Kategori : Cards |
319 kommentarer »
Inlägget postat av Mindy on May 4, 2017 | |
309 kommentarer »
Hello Everyone! Today I want to share with you a Reading Fairy Shaker Card that I created using some Beautiful stamps from Vilda Stamps.

To create my card I used the following Vilda Stamps:
Fantasy 1 V856:
http://shop.textalk.se/en/article.php?id=16232&art=114651480

and Bookworm V122:
http://shop.textalk.se/en/article.php?id=16232&art=4052314

To make my shaker card first I stamped the Bookworm fairy image onto 110 lb. plain white card stock and colored her in with Copics. Next I fussy cut her out and set her aside.
To create my background shaker fairy scene I cut a 3 inch diameter circle from plain white card stock, I then stamped some of the mushroom silhouette images to frame the bottom edge of the circle. Next I blended Distress Inks in Mermaid Lagoon, Cracked Pistachio, and Wilted Violet onto the background circle over the stamped mushroom images to create my sky. I then die cut a circle frame and then attached clear acetate to the back of the circle for the top of my shaker window. After that I added foam tape around the inside edge of the circle, filled the inside of the circle scene with coordinating sequins and then placed the top layer over the foam tape. To finish I added the bookworm fairy, handmade flowers, and sequins.
Thank you for stopping by! I hope that you are inspired to try out your own creations using these Gorgeous stamps from Vilda Stamps.
This post is posted by Mindy
Kategori : Cards, New stamps |
309 kommentarer »
Inlägget postat av Kerstin on May 2, 2017 | |
Inga kommentarer »
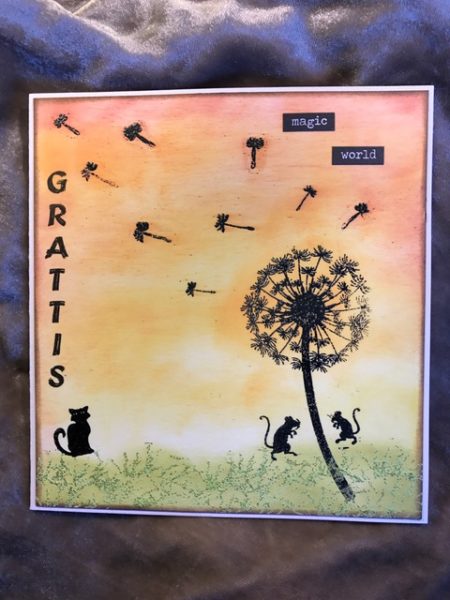
Maskrosornas fröställningar är ju så fina!
Blev lite extra glad att de fanns med i ett utav de nya stämpelkitten.
Alla bilder och gräset är embossat. I ett utav kitten fanns ett träd som jag använt rötterna som gräs.
Gillar grattisstämpeln som på detta kortet inte tar för mycket plats. De små orden kommer från TH.
Bakgrunden fick bli i varma distress oxide färger.
Kram Kerstin P
Stämplar: Grattis v255, Fantasy 3 v859, Silhuetter natur v 858
This post is posted by Kerstin
Kategori : Cards, New stamps |
Inga kommentarer »
Inlägget postat av Kerstin on May 2, 2017 | |
312 kommentarer »
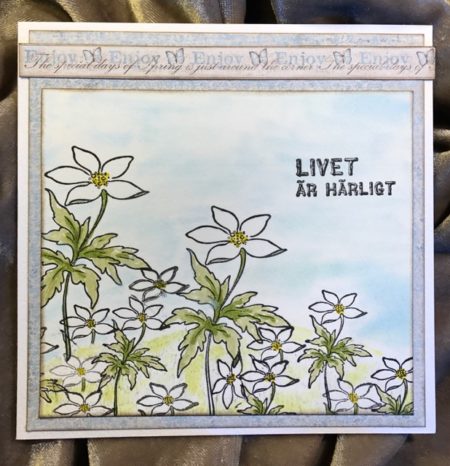
Äntligen har det börjat komma lite värme ute. Blommorna kommer, den ena efter den andra.
Vitsipporna blir man särskilt glad av. Jag har försökt stämpla många vitsippor som det ofta är i naturen. Bilden har jag satt på Majas vårpapper.
Just nu i vårens tid är livet härligt.
Kram KerstinP
Stämplar:
Vitsippor v62 och v744
This post is posted by Kerstin

Kategori : Cards |
312 kommentarer »





 Requirements and procedures:


