News
Inlägget postat av Anna-Lena on January 6, 2018 | | 454 kommentarer »


Inlägget postat av Anna-Lena on January 6, 2018 | | 454 kommentarer »


Inlägget postat av Kerstin on January 2, 2018 | | 446 kommentarer »
Sista inlägget för dagen har också med nyår att göra.
Mitt eget nyårslöfte till mig själv blev att läsa mer.
Då kan det behövas ett bokmärke. Det kan ju inte vara för tjocka grejer på det. Lite hemgjorda blommor,en die och fina stämplar sedan är man hemma. Har målat med torra akvarellpennor. Tycker det blir så fint på craftpapper.
Scrappa lugnt och mycket tills vi ses igen.
Kram
KerstinP
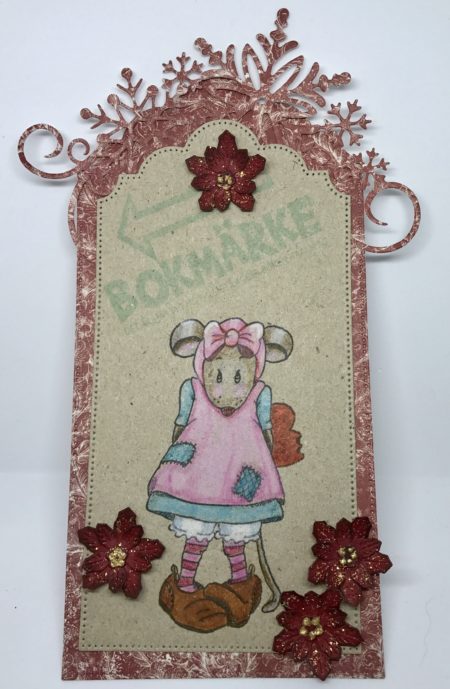
Material
Mus v664
Bokmärke och pil v828
Eget material
Die från Crealis och Jeanines Art
Inlägget postat av Kerstin on January 2, 2018 | | 449 kommentarer »
Dagens andra kort. Har jag stämplat bakgrunden och monterat lite blommor och Gott nytt År.
På textstämpeln har jag maskat bort God Jul.
Ett ganska stort kort 12x20cm.
Kram KerstinP
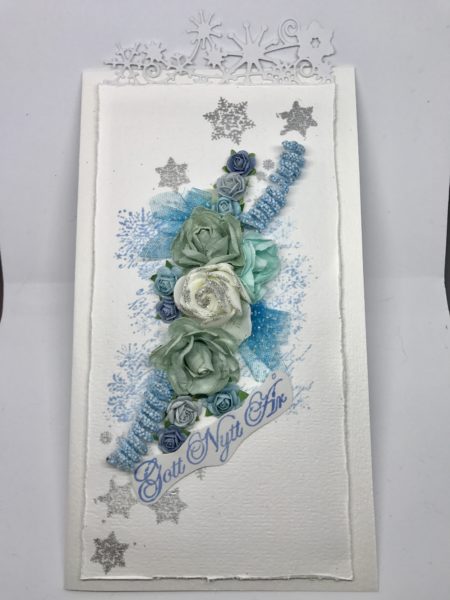
Material
Julcollage v851
Stjärnor v240
stjärnor v853
Text v 270
Inlägget postat av Kerstin on January 2, 2018 | | Inga kommentarer »
Årets och dagens första in lägg blir ett Nyårskort.
I bland får man oväntade julkort få brukar jag skicka ett Nyårskort tillbaka. Eller så kanske man bara vill glädja någon med ett kort.
Jag gjorde att kort med en Ängel som önskar Gott nytt år.
Kram Kerstin
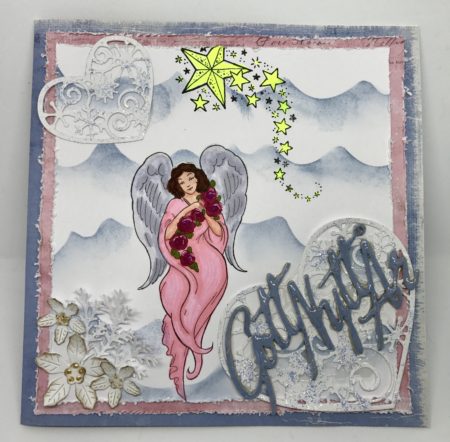
Material
Ängel v3
stjärnfall v388
Gott nytt år EA013
övrigt är eget material.
Inlägget postat av Kathrin on December 21, 2017 | | 310 kommentarer »
Hello everyone,
and welcome back to my second post here today. As mentioned in my first post earlier the cards I am sharing today are both simple since I didn’t want them to get damaged in the mail.
Have you ever wondered what fairies do on Christmas Eve? Well, I am going to show you.

Here I created a winter night scene and put two frames around it – a smaller dark blue one and a larger black one.
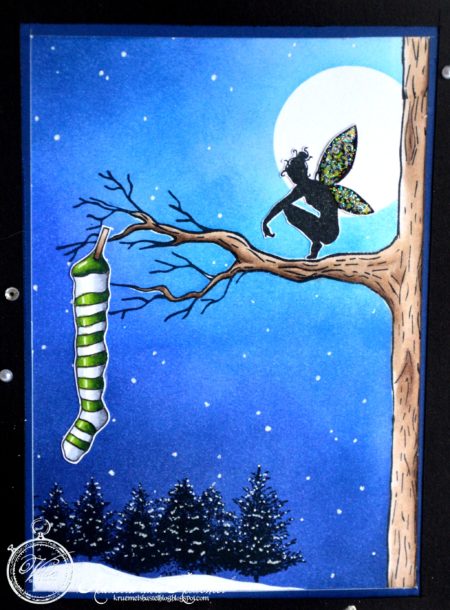
For the scene I first stamped the tree from the Halloween 2014 stamp set to the right edge of my card. Then I’ve masked it, added a circle from masking tape to my white cardstock and created the night sky using Distress Ink. The stars are made using a white gelly marker.
The fairy from the Fantasy 1 stamp set is cut out and glued onto the branch after creating the background. The fairy’s wings are covered with Stickles.
To the branch on the left side I’ve hung one of the stockings from the Christmas Socks with Details stamp set. Sorry, of course it wasn’t me – the fairy did it, hoping Santa will stop by and fill it. I just doubt he will do so as long as she’s sitting on that branch… 😉
To add some more to my background I stamped the trees from the German Christmas Lyrics stamp set close to the lower edge and used a white gelly marker again to add some snow.

The black frame was cut so there was some room at the bottom to add one of the text from the English Christmas Lyrics stamp set. It was heat embossed with silver embossing powder.
That’s it from me for this year – I am wishing all of you a very merry christmas and a great start into a wonderful new year 2018!
Hugs, Kathrin
Inlägget postat av Kathrin on December 21, 2017 | | 310 kommentarer »
Hello everyone!
Today I am sharing two simple christmas cards that were made last minute. I needed them to be done quickly because they needed to be mailed out. That’s also why I kept them as flat as possible, so they don’t get damaged during their way to the recipient. This is the first one I made.

On this card I created a shaker element that I wanted to look like an ornament. So I’ve cut a circle from light blue cardstock that became my shaker window.
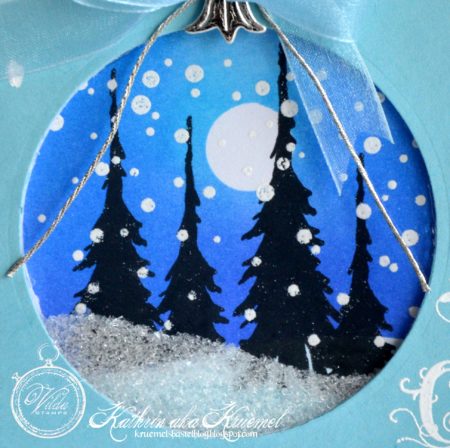
Inside this die cut circle I created a winter woods scene. I used a small circle cut from masking tape, put it on white cardstock and then used Distress Inks to create the background. There’s also a snowy ground, but this one is covered from the glitter inside the shaker.
Then I used the tree from the Fantasy 3 stamp set an stamped it four times, variing in height to make them look different tall.
Afterwards I used white embossing powder to heat emboss the snowflakes over my scene.
The shaker is filled with glass glitter.
To make the bauble look perfect I added a die cut hanger with a bow to the top of my circle.
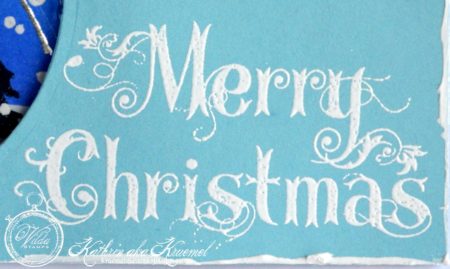
Since I had die cut the circle from the left half of my card there was enough room for one of the Merry Christmas text from the Merry Christmas x2 stamp set. It was heat embossed with white embossing powder.
Hope to see you all back again for my second card.
Hugs, Kathrin
Inlägget postat av Kai on December 14, 2017 | | 636 kommentarer »
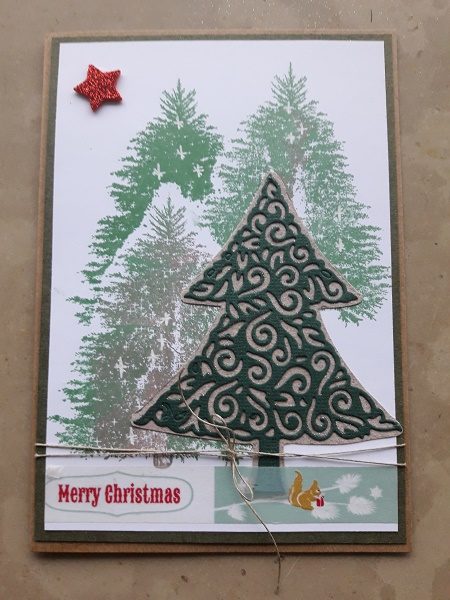
Working method and supplies
Stamp Vilda V718
Memento drops stamp ink 3 colors
Bamboo Leaves, cottage ivy, rich cocoa
Paper tape, string
Punch star
Double card 10.5×14.8 cm.
Top layer dark green 10×14.3 cm
Stamp paper 9.5×13.8 cm.
Paper dark green, sand color, glitter red.
Dies hobby Solution HSDJ015 Christmas tree
2x Masking paper. On which Christmas tree is stamped and cut out.
Glitter spray. Glue spray
Method:
Beink the stamp with 3 colors of ink. Place tree 1 on stamp paper. Stick masking paper on it. Same with tree 2 and 3.
Cut a Christmas tree from green paper. Place the dies on the sand paper. Draw outline with pencil and cut out. Apply glue spray on the back of the green tree. Stick together. Edit front with glitter spray.
Edge of paper tape along the bottom. Tie string. Punch star and assemble card according to example.
To all my Vilda Stamps people:
Merry Christmas and a Happy New 2018
Inlägget postat av Kai on December 14, 2017 | | 431 kommentarer »
Work description


Necessities
Stamp Vilda V219
Blank double card 10.5 x 14.8 cm.
Black support: 10 x 14.3 cm.
White stamp paper for stamp printing
Various colored paper: White paper for cut out circle dies and
star glitter red, gold.
Versafine black for stamp printing, Colorize at your own choice.
I used alcohol markers.
Ribbon
Glue and 3 D kit
Punch little star
The following materials are from Nellie Snellen:


Structure pasta
Mixed Media template NMMS 019 snow
Dies: MFD 075 Stars Circle, MCD001 snowflake, MFD 061 straight stars

Description
Apply dottes with structure paste on the black paper.
Stamp and color the print,  cut out all around.
Glue everything on the card as shown in the example
and cover the image here and there with structure paste.
Stick between layers with 3 D kit
Have fun with this cheerful card.